

A good study desk setup helps you focus longer and hurts less at the end of the day. You do not need fancy gear. You need the right height, a screen at the right spot, good light, and a clear surface. Here is how to set it up, step by step.
The Quick Checklist
- Feet flat on the floor, back of your knees just above the seat.
- Elbows near desk height, forearms level with the floor.
- Screen 20 to 40 inches away, top at or just below eye level.
- Screen at right angles to the window, with a lamp for your notes.
- Daily items in reach, everything else put away.
- A break every 20 minutes for your eyes, and a move every 30 to 60.
Step 1: Pick the Spot
Light matters more than most people think. OSHA says to place the screen at right angles to windows and other light sources. A window in front of you causes squinting. A window behind you causes glare on the screen. Put the desk so the window is at your side (OSHA). Not sure which desk size fits? See our desk size guide. Short on space? Try a foldable desk.
Step 2: Set the Chair and Desk Height
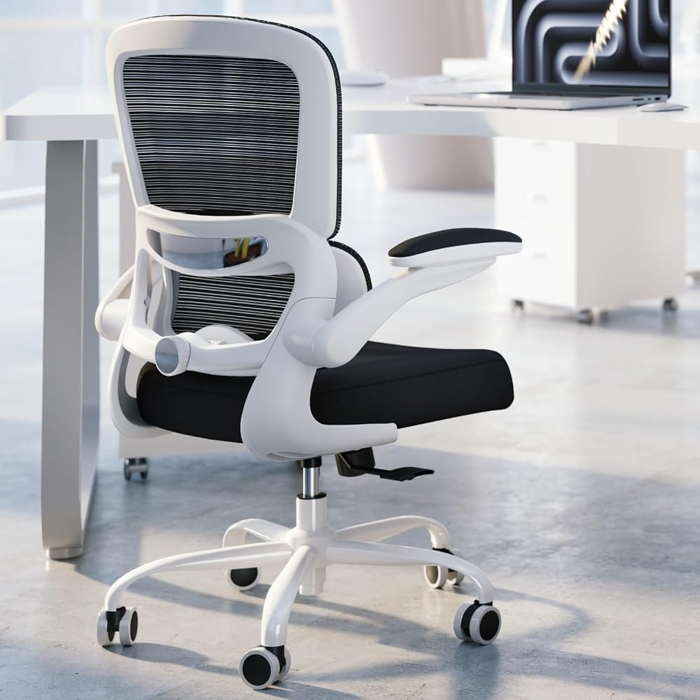
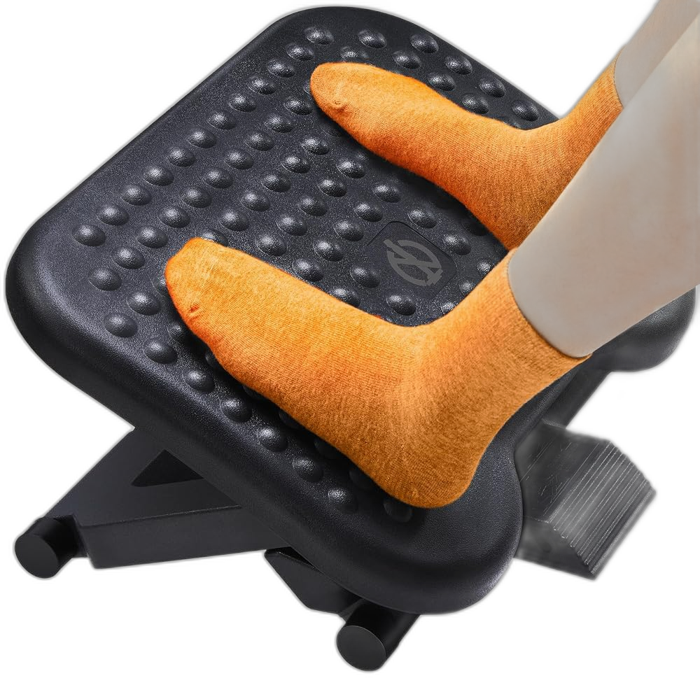
Start with the chair. Your chair height is right when your whole foot rests on the floor and the back of your knee sits slightly higher than the seat. Your back should be supported, with your thighs and hips about level (OSHA). If the desk is too high, raise the chair and add a footrest.
Then check your arms. Your elbows should hang near your sides, about level with the keyboard, with forearms parallel to the floor. OSHA lists 22 to 30 inches as an adjustable range for a seated keyboard (OSHA).
Step 3: Place the Screen
Put the screen straight in front of you. OSHA says the screen should be 20 to 40 inches from your eyes, with the top at or just below eye level. The center should sit about 15 to 20 degrees below eye level, and the screen should not be more than 35 degrees off to either side (OSHA).
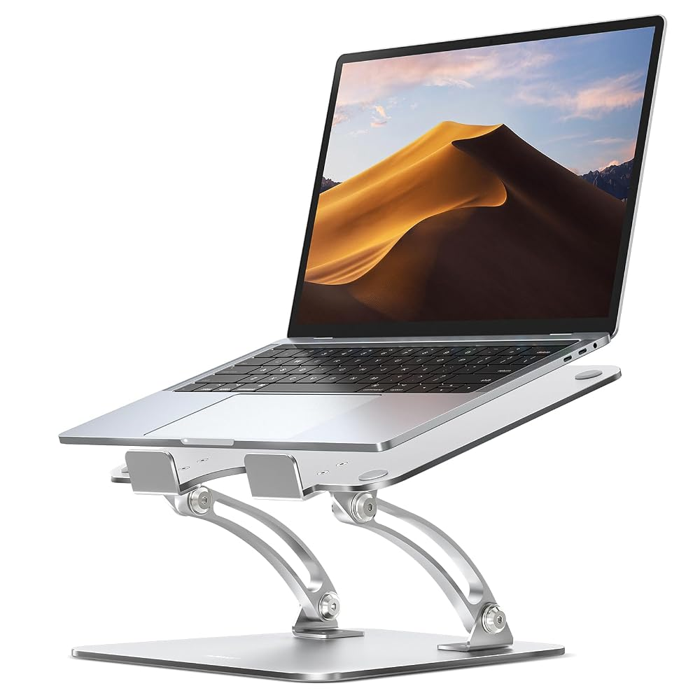
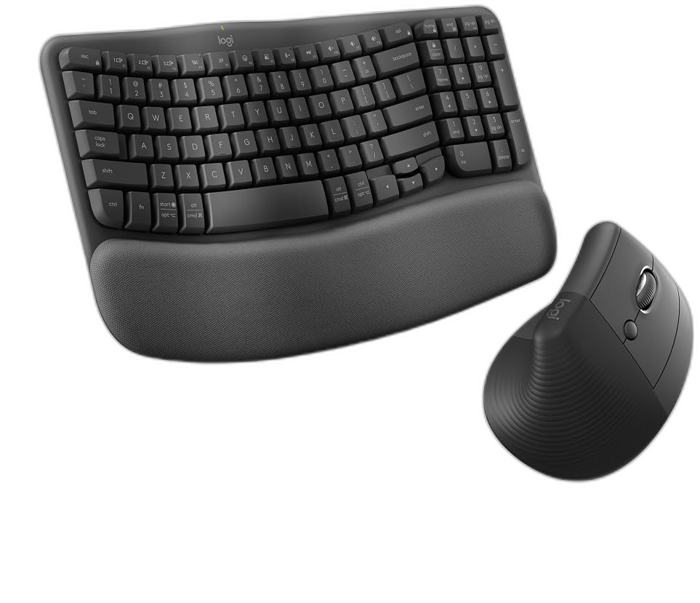
Using a laptop? A laptop screen sits too low when the keyboard is at the right height. Lift the laptop on a stand, then use a separate keyboard and mouse. That way the screen is at eye level and your hands are at elbow level.
Step 4: Fix the Lighting
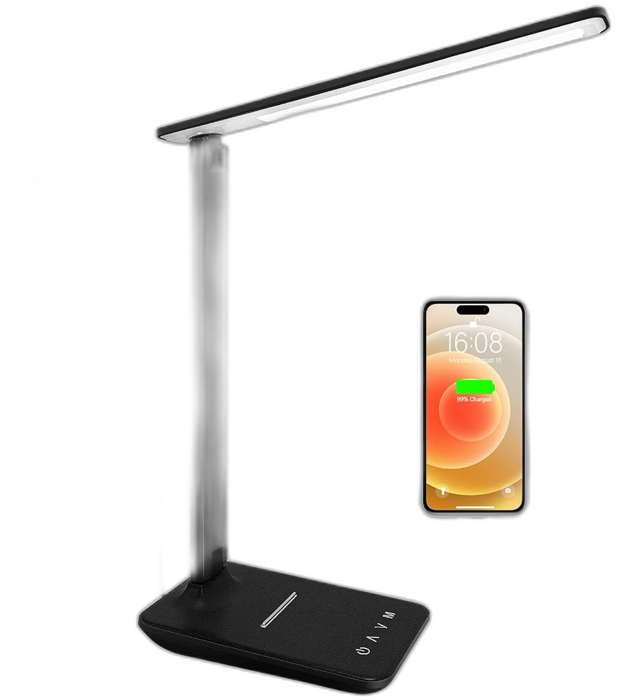
Use a desk lamp for books and notes. It should light your paper without shining on the screen. OSHA advises supplemental lamps for paper work and says to limit direct brightness on the screen. A matte desk surface helps too, because shiny surfaces bounce light (OSHA). Switch off lights that cause glare, and shade bright windows with blinds (EyeWiki).
Not sure which lamp to buy? See our best desk lamps guide.
Step 5: Organize the Desk
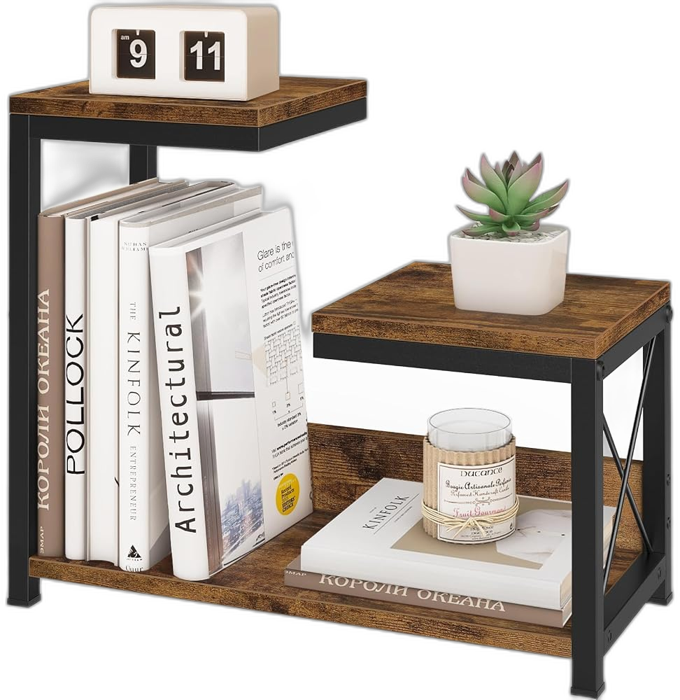
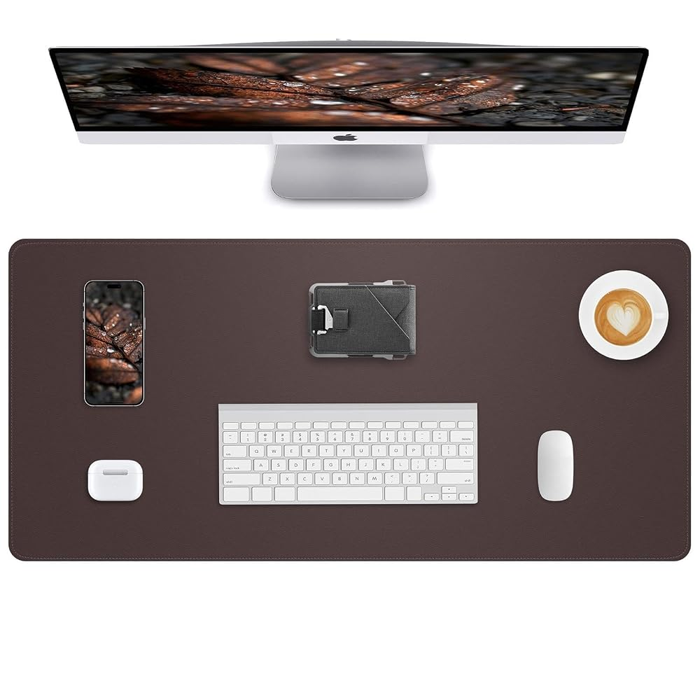
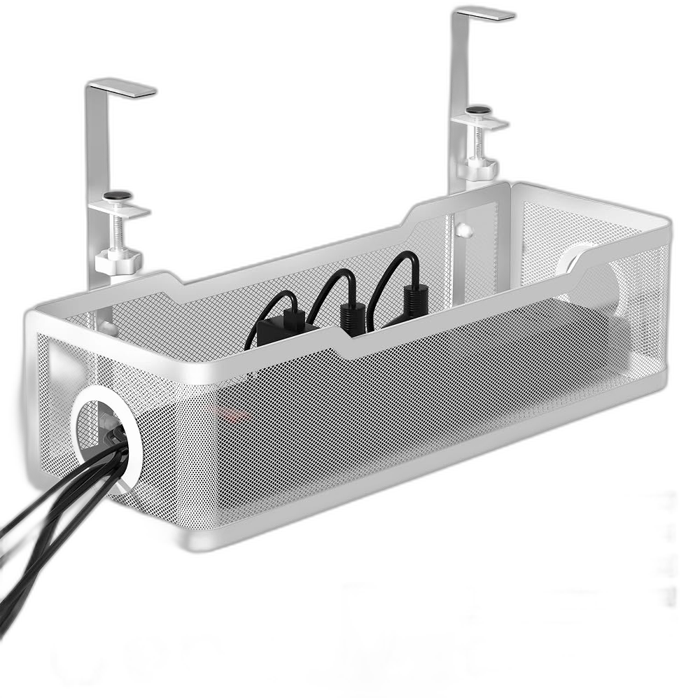
Keep what you use every day within arm’s reach: a notebook, pens, and your lamp. Move the rest to a shelf or drawer. A tiered organizer frees up desk space. A desk pad gives you a clean spot to write. A cable tray under the desk keeps cords off the floor and out of sight.
Step 6: Take Breaks
Your eyes need a break. The American Optometric Association suggests the 20-20-20 rule: every 20 minutes, look at something about 20 feet away for about 20 seconds (EyeWiki). Stand up, stretch, and walk every 30 to 60 minutes too. Want to stand while you work? Read our guide to standing desk benefits.
Choose the Right Desk Size
Size changes how well everything else works. Standard desks are 28 to 30 inches tall, and most are built for people around 5’8″ to 5’10”. That is only a starting point, so check the elbow test in Step 2. Our standard desk dimensions guide has height, depth, and width numbers plus a calculator.
Think about depth most. OSHA says your screen should be 20 to 40 inches from your eyes. A very shallow desk can push the screen too close. Leave room for the keyboard, the screen, and an open notebook at the same time. If your room is tight, a corner desk or a foldable desk can save floor space.
A Study Chair Checklist
You will spend more time in the chair than on anything else, so it deserves the most attention. OSHA’s chair guidance points to these features:
- Adjustable seat height so your whole foot rests on the floor.
- Adjustable seat depth so the seat edge does not press behind your knees.
- A backrest that leans back at least 15 degrees and gives support to your lower back.
- Adjustable armrests that hold your lower arms while your upper arms stay close to your body.
- A footrest if you cannot lower the seat enough.
A dining chair works for short sessions. For long study blocks, an adjustable chair is worth the money.
Study Desk Layouts That Work
Set Up for Your Study Style
Laptop only. This is the most common setup and the hardest on your neck. Raise the laptop on a stand and use a separate keyboard and mouse. Then the screen is near eye level and your hands are at elbow height.
Handwriting and books. Leave a clear writing area in front of you. A desk pad gives you a smooth surface. Place the lamp on the side opposite your writing hand so your hand does not cast a shadow on the page. That placement is a common tip, not a rule.
Two screens. Put the screen you use most straight ahead and the second one off to the side. OSHA says a screen should not sit more than 35 degrees to the left or right of straight ahead.
Online classes and video calls. Place the camera near eye level. Put the lamp in front of you, not behind you, so your face is lit. Keep a quiet background behind the screen.
Cut Distractions Before They Start
A good setup helps your body. It should help your focus too. These simple habits work for many people:
Keep Your Eyes Comfortable
Long study sessions strain your eyes. Besides the 20-20-20 rule, a few small changes help:
- Sit at about arm’s length from the screen. One study found a 90 cm viewing distance and a slightly downward gaze reduced eye discomfort (EyeWiki).
- Switch off lights that cause glare and shade bright windows with blinds (EyeWiki, OSHA).
- Raise the contrast on your screen if text looks faint. A matte screen filter can also cut reflections (EyeWiki).
- Keep the screen clean. Dust and smudges add glare.
A 5-Minute End-of-Day Reset
A clean start tomorrow makes it easier to sit down and begin.
Where to Spend Your Money First
You do not need to buy everything at once. Spend in this order:
Common Mistakes to Avoid
Setup Numbers at a Glance
| Item | Target | Source |
|---|---|---|
| Screen distance | 20 to 40 inches | OSHA |
| Screen height | Top at or just below eye level | OSHA |
| Screen angle | Center 15 to 20 degrees below eye level | OSHA |
| Seated keyboard height | Adjustable from 22 to 30 inches | OSHA |
| Eye break | 20 seconds, every 20 minutes | AOA, via EyeWiki |
Frequently Asked Questions
What should be on a study desk?
Keep only what you use every day within arm’s reach: your screen or laptop, a notebook, a pen cup, and a lamp. Put everything else in a drawer or on a shelf. A clear desk is easier to focus at.
How high should a study desk be?
Adjust the chair first, then check that your elbows sit near desk height with your forearms level. OSHA lists 22 to 30 inches as an adjustable range for a seated keyboard. See our desk size guide for standard desk heights and sizes.
Where should I put my study desk?
Put the screen at right angles to the window, not facing it or with the window behind it. That cuts glare and keeps you from squinting (OSHA).
How far should I sit from my screen?
OSHA says 20 to 40 inches from your eyes to the screen. A good starting point is about an arm’s length.
What kind of light is best for a study desk?
Use soft room light plus a desk lamp that lights your books and notes without shining on the screen. Switch off lights that cause glare, and use blinds on bright windows.
How often should I take a break from the screen?
The American Optometric Association suggests the 20-20-20 rule: every 20 minutes, look at something about 20 feet away for about 20 seconds. Also stand up and move every 30 to 60 minutes.
How do I set up a study desk in a small bedroom?
Use a corner or a wall, face the desk away from the bed, and go vertical with a shelf above. A foldable desk saves space. Keep supplies in one tray so the room still feels like a bedroom.
How do I set up a desk for online classes?
Put the camera near eye level, light your face with a lamp in front of you, and keep a plain background. Use a laptop stand and a separate keyboard so the camera is not looking up your nose.
Is a standing desk good for studying?
It can be, for reading and review. Many people prefer to sit for long writing and focused work. See our guide to standing desk benefits for what the research says.
Where should the desk lamp go?
Put it to the side so it lights your notes without shining on the screen. Many people place it on the side opposite their writing hand to avoid shadows. That last point is a common tip, not a rule.
Is it okay to study in bed instead of at a desk?
Short reading is fine, but a bed gives your back little support. For long sessions, a desk and a supportive chair are kinder to your neck and back.
Do I need an ergonomic chair for studying?
You need a chair that fits you. OSHA says the seat height is right when your whole foot rests on the floor and the back of your knee sits slightly above the seat. If you cannot lower the chair enough, use a footrest.
Sources and Further Reading
- OSHA: Computer workstations, monitors
- OSHA: Computer workstations, chairs
- OSHA: Computer workstations, keyboards
- OSHA: Workstation environment (lighting and glare)
- EyeWiki (American Academy of Ophthalmology): Digital eye strain
This guide is general information, not medical advice. Last checked October 2026.

Sophia Turner covers budget home decor, seasonal styling, and outdoor spaces at The Dailey House. She has a talent for finding thrift store pieces that look like they cost three times what she paid, and a habit of redesigning her front porch every single season.