

Replacing a concrete staircase runs $2,500 to $6,000. Most of the time, you don’t need to — the concrete underneath is structurally fine, it just looks tired. This is the step-by-step version of the fix: how to actually do the two most beginner-friendly makeovers yourself, plus how to tell which approach fits your steps before you buy a single supply. If you want the full list of finish options first, see our 14 concrete front steps makeover ideas.
Which Fix Fits Your Steps?
Hairline cracks, faded color, stains — no structural damage. You’re a candidate for paint or acid stain. Both are weekend projects with no special equipment.
Chipped edges, small spalling, uneven texture. You need a resurfacing overlay first (a thin cement-based coating that fills and smooths), then paint or stain on top once it cures.
Large cracks, crumbling corners, steps that shift underfoot. This is a structural problem, not a cosmetic one — call a concrete contractor before doing any of the finishes below. Painting over a structural crack hides a safety issue instead of fixing it.
Before You Start: Prep and Safety
1. Clean thoroughly. Sweep, then scrub with a concrete cleaner or a 1:4 bleach-water mix to kill any mildew. Rinse completely and let the surface dry for at least 24 hours — paint and stain both fail on damp concrete.
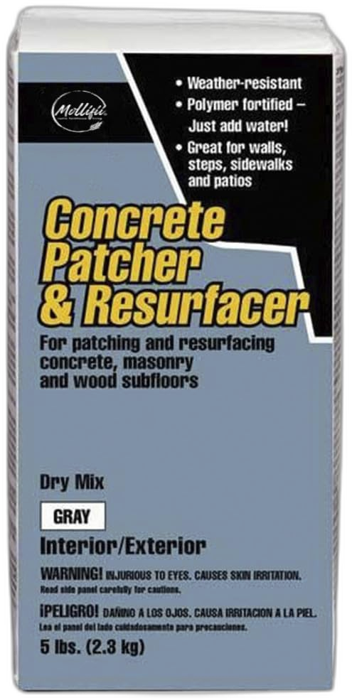
2. Fix cracks first. Use a concrete patch compound on any crack wider than a hairline. Let it cure fully per the product’s label, usually 24–48 hours, before moving on.
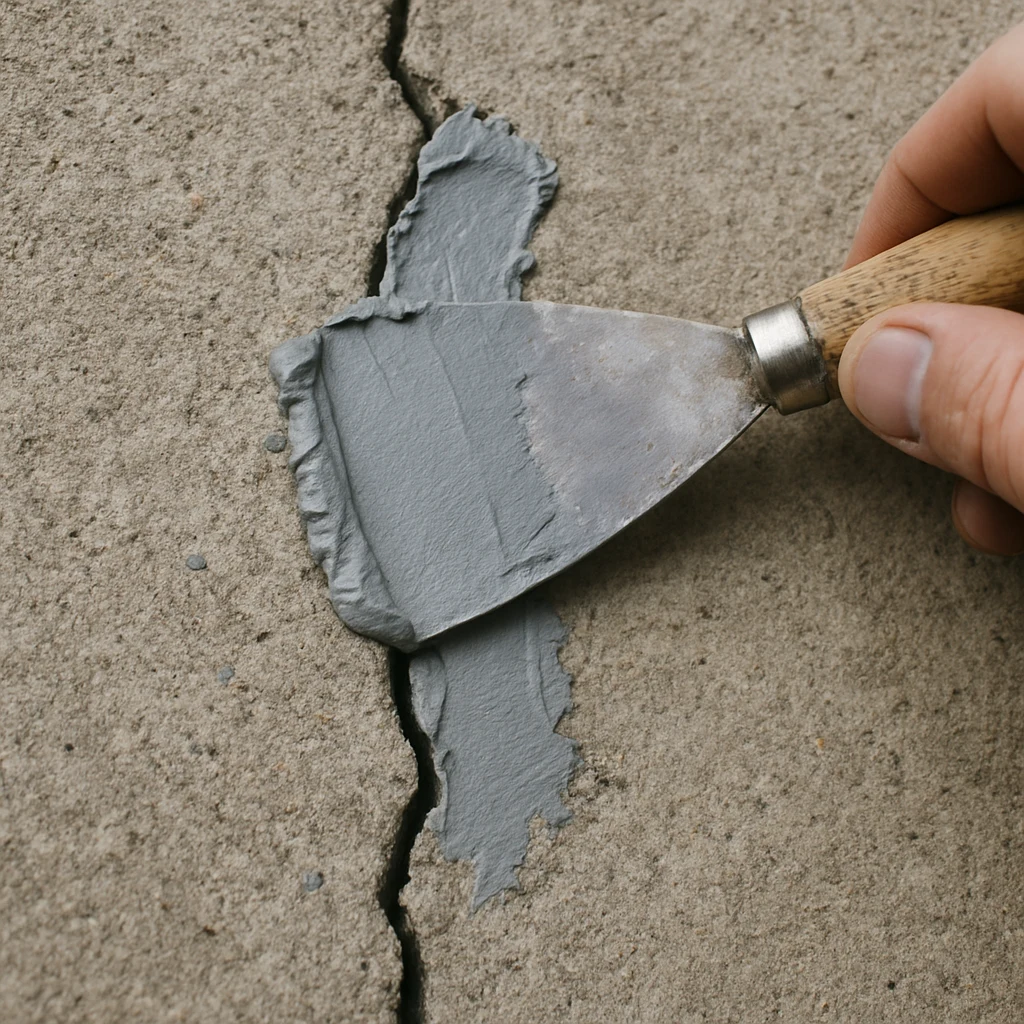
3. Etch or prime if the concrete is sealed. New paint and stain need to bond to raw concrete. If your steps were ever sealed, a concrete etching solution ($15–$20) opens the pores back up so the finish actually holds instead of peeling within a season.
Method 1: Paint (The Weekend Fix)
Cost: $40–$70. Time: one weekend, including dry time.
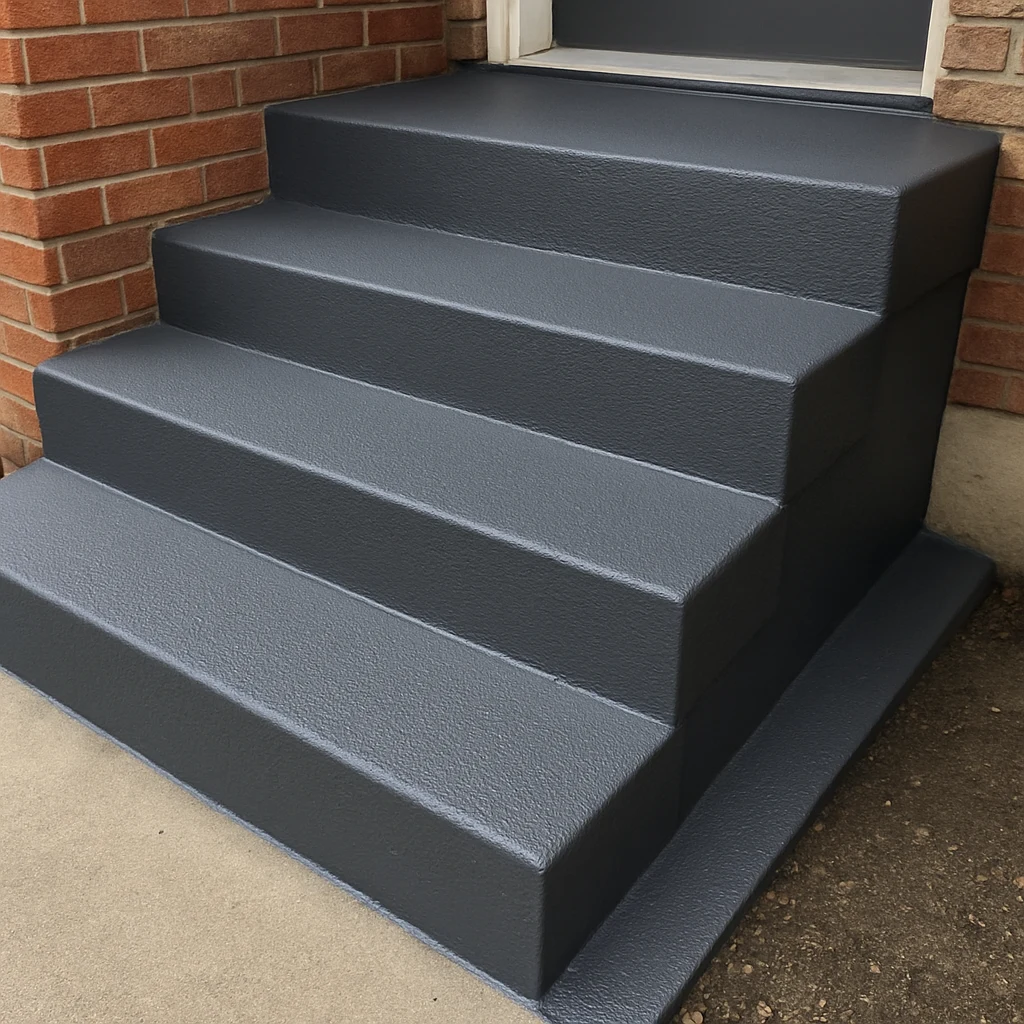
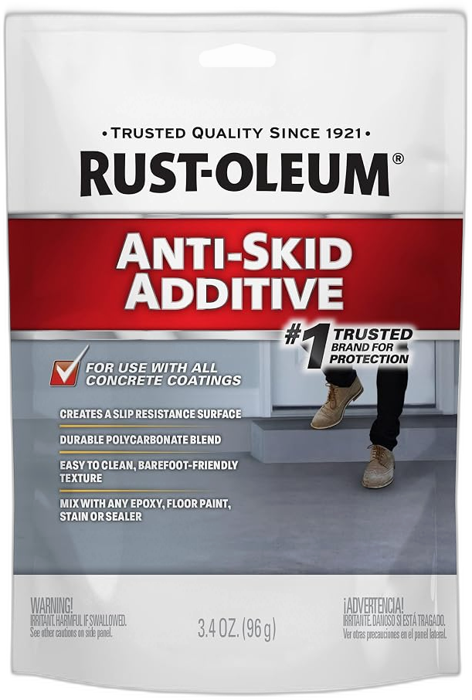
Use a porch-and-floor enamel rated for concrete and exterior traffic — regular exterior wall paint will wear through within months. Apply a concrete bonding primer first, then two thin coats of enamel, sanding lightly between coats with 220-grit paper. Mix in anti-slip additive (a fine grit sold specifically for this, $8–$12 a bottle) into the final coat on the tread surface — skip it on the risers, where slip isn’t a concern.
Let each coat dry a full 24 hours before walking on it, and hold off on furniture or planters for a full week to let the paint cure to its final hardness.
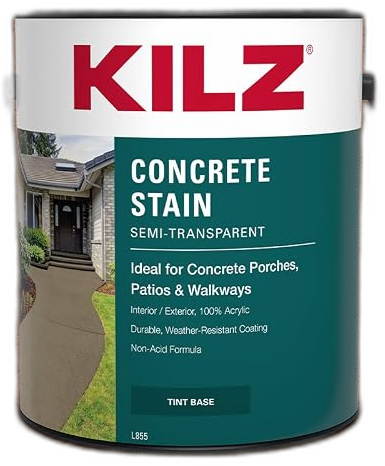
Method 2: Acid Stain (The Stone-Look Fix)
Cost: $60–$100. Time: one weekend, plus a curing day.
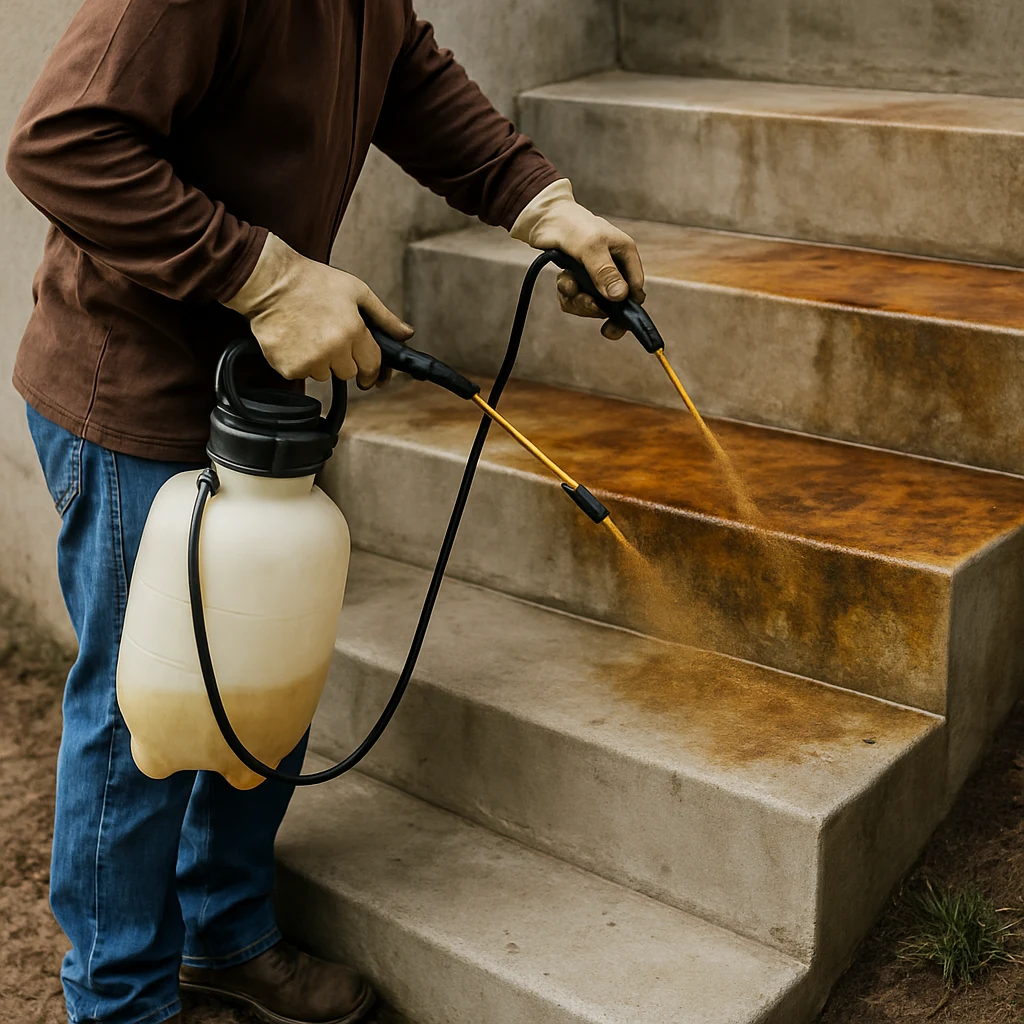
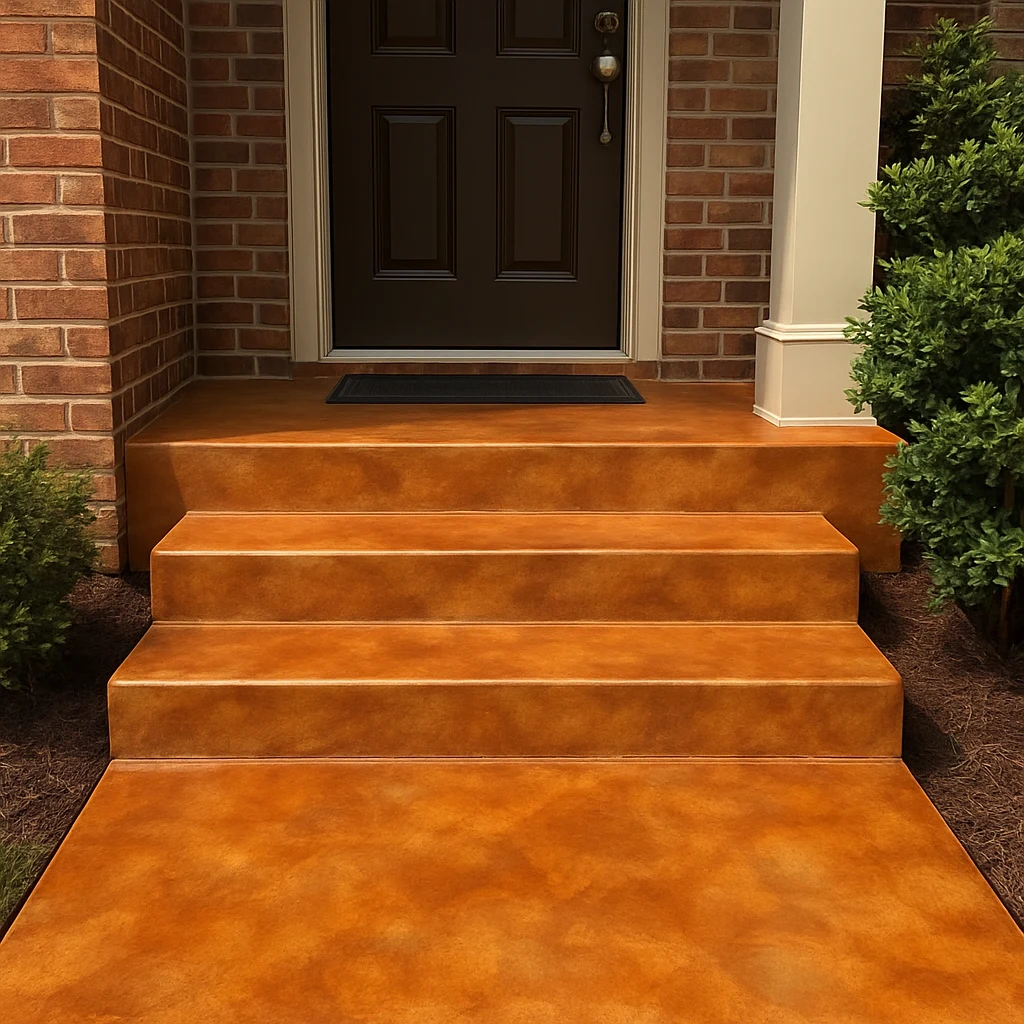
Acid stain reacts chemically with the minerals in concrete instead of sitting on top like paint, which is why it produces that mottled, natural stone look and won’t chip or peel the way paint eventually can. Apply with a plastic pump sprayer in a circular motion, let it react for 4–24 hours depending on the depth of color you want, then neutralize with a baking-soda-and-water solution to stop the reaction. Rinse thoroughly and let dry 24 hours before sealing with a concrete sealer — the sealer is what protects the color and adds slip resistance, so don’t skip it.
Wear rubber gloves and eye protection during application — acid stain is a mild acid solution and will irritate bare skin.
Three Mistakes That Ruin a DIY Concrete Steps Makeover
Skipping the anti-slip additive. A freshly painted or sealed step is noticeably more slippery than bare concrete, especially wet. This is the single most common regret in DIY step makeovers — add grit to every tread, no exceptions.
Painting over damp or sealed concrete. Both cause peeling within a season. Test for old sealer by dripping water on the surface — if it beads instead of soaking in, you need to etch before painting.
Rushing the cure time. Walking on paint or stain before it’s fully cured, even if it feels dry to the touch, is the top cause of early wear and scuffing. Give it the full week.
This is a widely reported failure pattern in DIY concrete-painting discussions: peeling shows up within a single season when a dark or matte paint is used without a sealer, especially on steps where water doesn’t fully drain after rain. Moisture trapped under the paint film, not foot traffic, is the most commonly cited cause of early peeling — which is why the sealer step above isn’t optional if you want the finish to last.
Supplies for This Concrete Makeover
Frequently Asked Questions
How long does a painted concrete step finish last?
A properly prepped and cured paint finish with anti-slip additive typically lasts 2–4 years before needing a touch-up coat.
Do I need to seal painted concrete steps?
A clear concrete sealer over the paint adds UV and wear protection and can extend the finish’s life by a year or more.
Can I stain concrete steps that already have paint on them?
No — acid stain only reacts with bare concrete. Paint would need to be fully stripped first, which is a much bigger job than starting with unpainted steps.
What’s the cheapest way to makeover concrete steps?
Paint is the cheapest DIY option at $40–$70 total, versus $60–$100 for acid stain or several hundred for a resurfacing overlay.
How do I know if my steps need a contractor instead of a DIY fix?
Large cracks, crumbling corners, or steps that shift or flex underfoot are structural issues that need a professional assessment before any cosmetic fix.
Related Guides
- 14 Concrete Front Steps Makeover Ideas
- 16 Small Front Yard Ideas
- Concrete Pavers vs Patio Tiles
- Curb Appeal Trends for 2026

Sophia Turner covers budget home decor, seasonal styling, and outdoor spaces at The Dailey House. She has a talent for finding thrift store pieces that look like they cost three times what she paid, and a habit of redesigning her front porch every single season.