

If you bought a house built any time between the 1970s and 2000s, there’s a good chance you inherited a plain gray concrete slab out back — functional, ugly, and radiating heat all summer. Ripping it out and pouring pavers costs $3,000–$8,000+ depending on size. Almost none of that is necessary. A slab is actually a great starting point: it’s already level, already drains correctly, and already has years of curing behind it. Everything below works with the slab you have, not against it.
Before you pick an approach, it helps to understand why a slab reads as “cheap” in the first place. It’s rarely the material itself — poured concrete is the base layer under most stone and tile patios anyway. It’s the combination of flat, uniform gray color, hard unbroken edges against the lawn, and (usually) an empty, unstyled surface on top of it. Every idea below tackles one of those three things. Pick the ones that match your actual slab and your actual budget, and you can stack several together for a bigger transformation.
Resurface the Slab Itself
Before you cover the concrete with anything, consider changing the concrete. These options change the actual surface rather than hiding it under something else, which matters if your slab has minor cracks or discoloration you want gone for good, not just camouflaged.
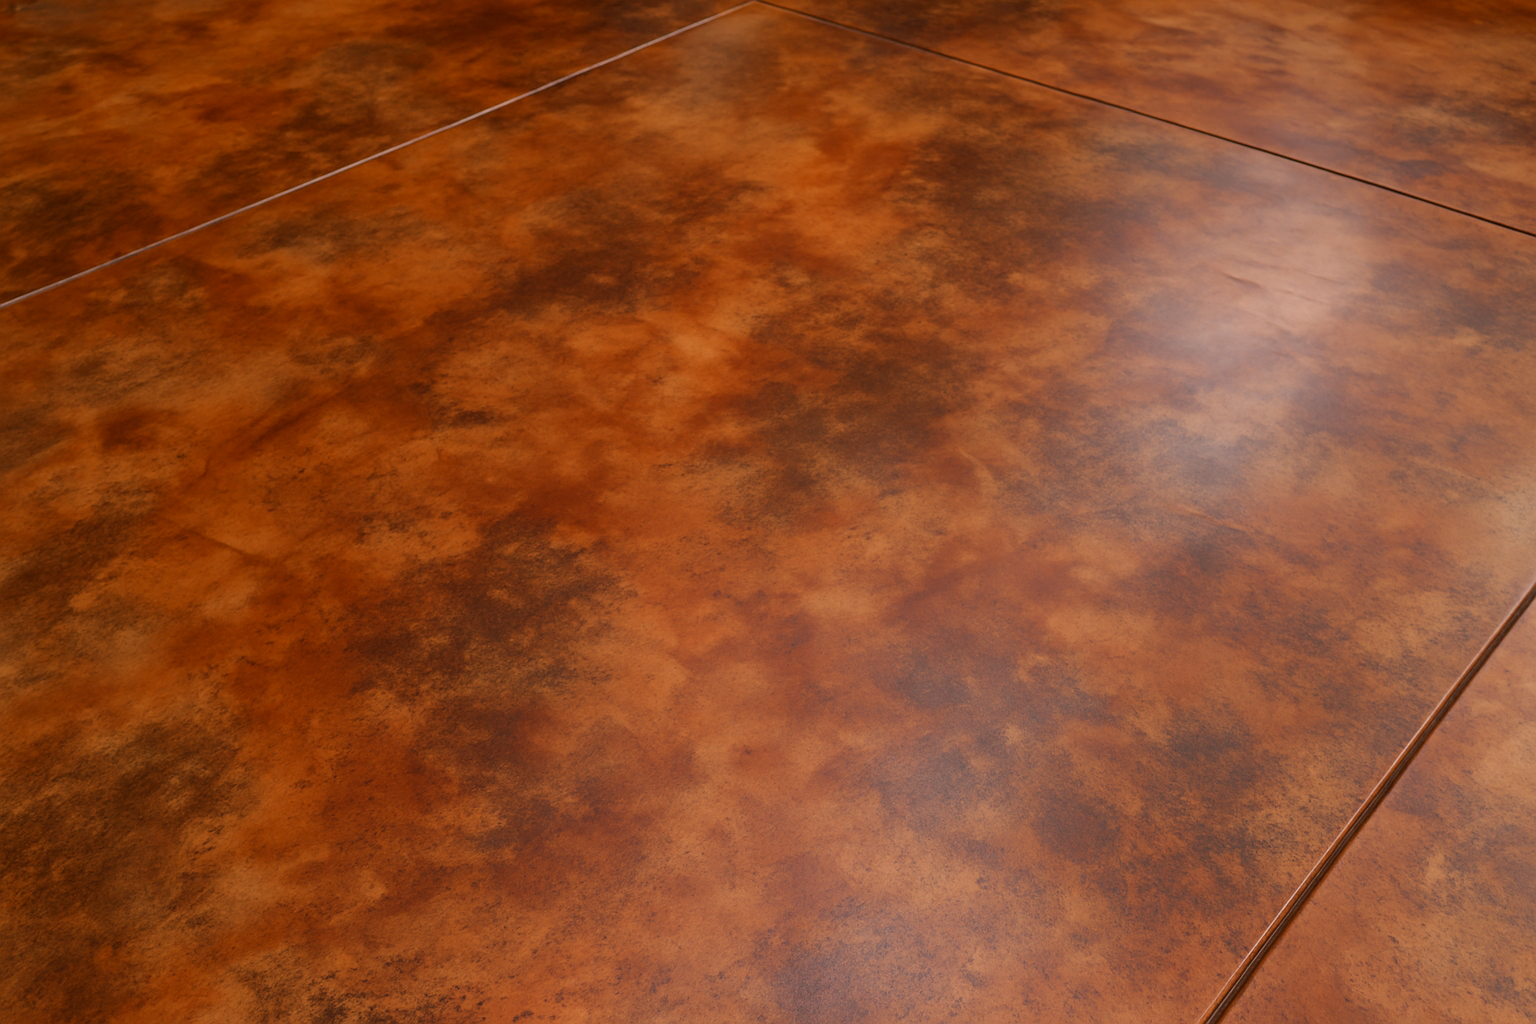
- Concrete stain (acid or water-based). Acid stain reacts chemically with the concrete and produces mottled, marbled color that never looks flat or painted-on — it’s the closest you’ll get to natural stone without the cost. Water-based stain is more predictable and comes in more color options, but sits closer to the surface. Either way, budget $2–$4 per square foot for materials if you DIY, and plan on a full day: the surface needs to be completely clean and etched before stain will take evenly, and most acid stains need several hours to react before you can rinse and neutralize them.
- Stamped concrete overlay. A thin layer (usually under an inch) of new concrete gets pressed with a textured mat before it cures, mimicking flagstone, slate, or brick. This is the option that most convincingly disguises a slab as something expensive, but it’s not a weekend DIY — most people hire this out, and the labor is where most of the $8–$15 per square foot installed cost comes from.
- Epoxy or polyaspartic coating. Originally a garage-floor product, these coatings now come in outdoor-rated versions with UV inhibitors. They fill hairline cracks, resist stains, and come in flake or solid-color finishes. Good for patios that get heavy furniture traffic or grill splatter, since the coating is far more chemical- and stain-resistant than raw concrete.
- Simple exterior concrete paint. The cheapest option by far ($40–$60 per 5-gallon bucket covers roughly 400 sq ft), but plan on repainting every 2–3 years in a climate with real winters, since standard concrete paint doesn’t flex with the freeze-thaw movement of the slab underneath it the way a true coating does. Fine as a stopgap while you save for something more permanent.
Cover It Without Touching the Concrete
If staining or coating feels like too much commitment, these options sit on top of the slab and can be removed later if you move or change your mind. They’re also the better choice if your concrete has more than hairline cracks — covering rather than resurfacing sidesteps the crack-filling step entirely.
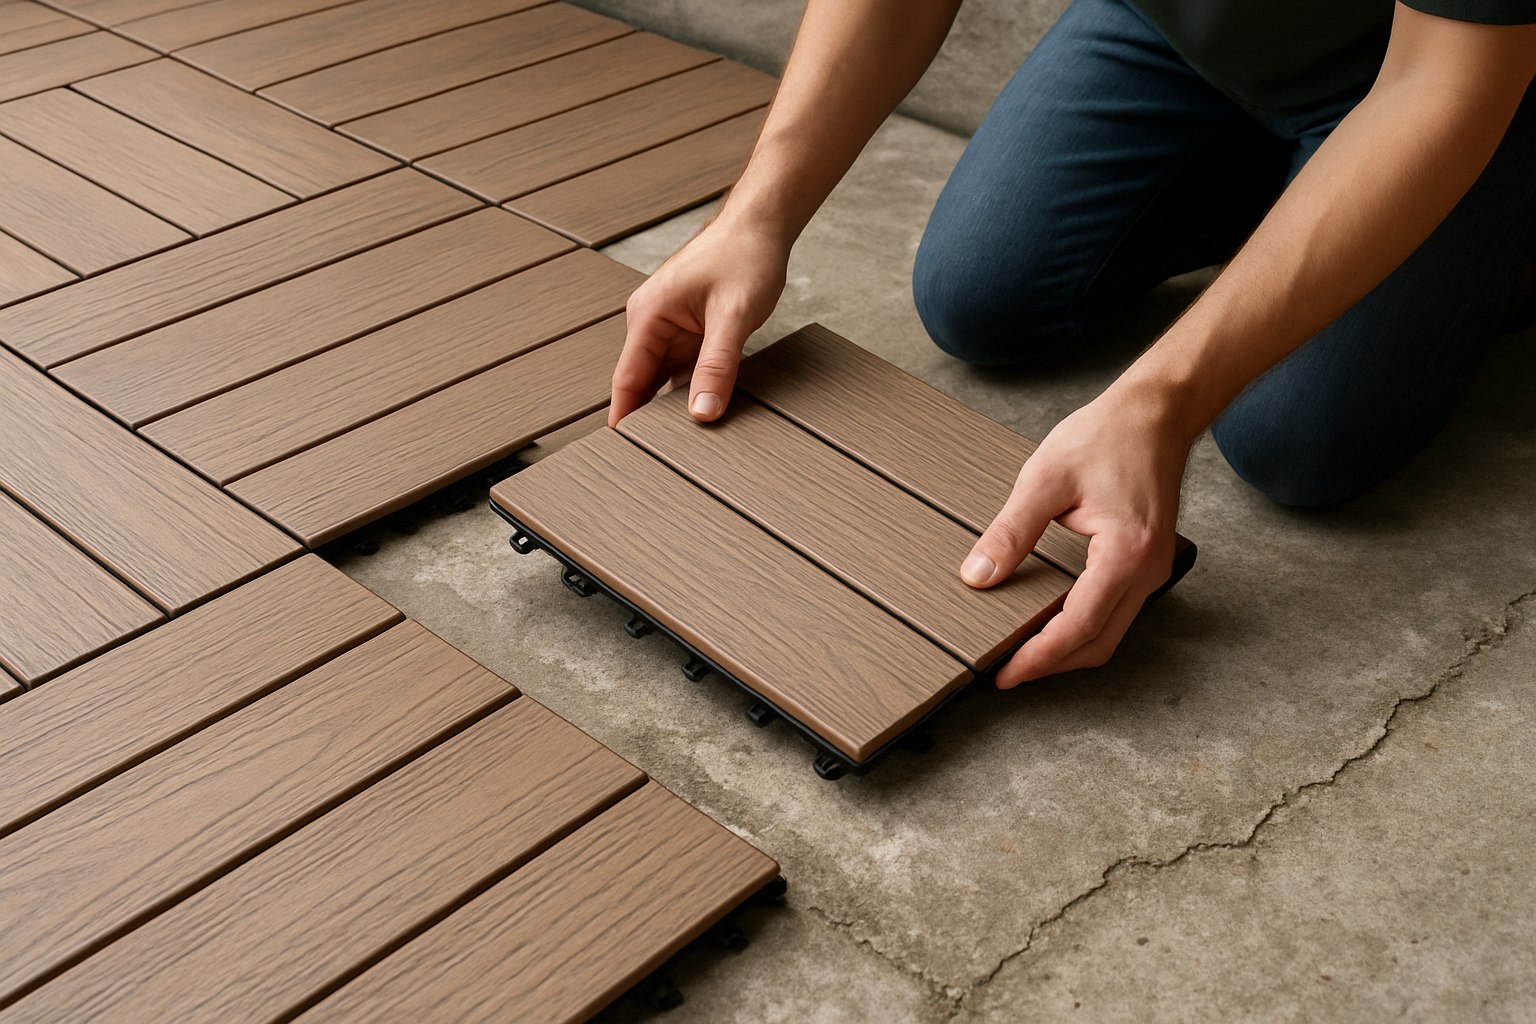
- Interlocking deck tiles. Composite or wood tiles that snap together over the existing slab, no adhesive required. A full 10×10 area runs $150–$400 depending on material. This is the single fastest way to transform a slab in a weekend — genuinely a few hours of work, and if a tile ever gets damaged you can pop out and replace just that one piece. THYOI’s acacia wood deck tiles are a well-reviewed option if you want a real wood look.
- Outdoor rugs, plural, not one big one. A single large rug on a patio tends to look like an afterthought. Two or three overlapping or zone-separated rugs (one under the dining set, a smaller one by a lounge chair) reads as intentional design rather than “covering something up.” Stick to polypropylene or another mold-resistant synthetic — natural fiber rugs like jute will mildew outdoors within a season in most climates.
- Pea gravel border with a paver or tile “rug” in the center. Frame the slab’s edges with a band of gravel and lay inexpensive pavers or porcelain tile only in the main sitting area. You use less material than covering the whole slab, and the contrast in texture looks deliberate rather than incomplete.
- Artificial turf panels. Cutting turf to fit specific zones of a slab — under a table, framing a fire pit — softens the hardscape without a full yard renovation. Look for turf specifically rated for high foot traffic if this zone will hold furniture, since lighter-duty turf can compress and stay flattened under table and chair legs.
Disguise the Edges
A slab reads as “concrete” mostly because of its hard, straight edges against the lawn. Soften those and the eye stops registering it as a slab at all — this is consistently the highest-impact, lowest-cost category on this whole list, because it changes how the eye reads the entire patio rather than just one section of it.
- Raised planter boxes along one or two edges. Even 12″ deep boxes break up the straight line and give you a place for herbs or low shrubs without digging into the slab. Cedar and composite boxes both hold up outdoors without the rot risk of untreated pine.
- Gravel or mulch border between slab and grass. A 12–18″ buffer strip stops the slab from looking like it was just dropped onto the lawn with no transition. This is also the cheapest item on this entire list — a couple of bags of gravel and an afternoon with a rake.
- Trailing vines on a low trellis at the slab’s edge. Clematis, climbing hydrangea, or even fast-growing annual vines like black-eyed Susan will soften a hard edge within one growing season, and most climbing vines need surprisingly little maintenance once established.
- Potted plants at the corners, not lined up along the edge. Corner placement breaks the rectangle shape visually more effectively than a straight row of pots, which your eye tends to read as a fence rather than a softened edge.
Furniture and Zoning Tricks
Sometimes the fastest fix isn’t the concrete at all — it’s how you use the space on top of it. These moves cost the least relative to their impact, because they’re mostly about rearranging what you already own rather than buying anything new.
- Angle furniture instead of squaring it to the slab’s edges. A dining set set at 30–45 degrees to the slab’s rectangle immediately makes the space feel designed rather than default — it’s a five-minute change that photographs completely differently.
- Define zones with furniture, not flooring changes. A rug under the seating area plus a side table and planters at the “boundary” creates a sense of separate rooms even on one flat, uninterrupted slab.
- String lights or a shade sail overhead. Adding a vertical or overhead element pulls the eye up and away from the ground plane, which does more to disguise a plain slab than almost anything you can do to the slab itself.
- A single bold rug pattern. On an otherwise all-gray surface, one graphic rug does more visual work than any amount of matching neutral furniture.
- Vertical planters or a living wall on an adjacent fence. Draws attention up and off the floor entirely, and works even in a space too small for floor-standing planters.
- A fire pit or fire table as the anchor. Built-in visual focal points make furniture arrangement obvious and stop the slab from feeling like undefined leftover space.
Which Approach Is Right for Your Slab?
If the slab is in good structural shape (no major cracks, doesn’t pool water), start with the cheapest, most reversible options — furniture zoning, rugs, and edge planting — before committing to stain or coating. If the concrete itself is cracked, stained, or uneven, coatings and overlays solve the underlying problem instead of just distracting from it. And if you’re renting or might move in the next few years, stick to the removable options: deck tiles, rugs, and potted plants take the investment with you.
Frequently Asked Questions
Can you paint over a concrete patio that already has stains?
Yes, but the stains need to be treated first. Oil and grease stains in particular will bleed through most concrete paints unless you clean with a degreaser and, in stubborn cases, apply a stain-blocking primer made for masonry before painting.
How long does acid-stained concrete last outdoors?
With a proper sealer reapplied every 2–3 years, acid-stained concrete can last as long as the slab itself — it’s a genuinely permanent color change, not a coating that wears off.
Do interlocking deck tiles work over a cracked slab?
For hairline cracks, yes. For cracks with any noticeable height difference between the two sides, the unevenness will usually telegraph through rigid tiles. Rubber paver tiles flex more and tend to handle minor unevenness better than composite.
What’s the cheapest way to make a concrete patio look better this weekend?
A pea gravel border along the edges plus two layered outdoor rugs. Both are under $100 combined, need no drying or curing time, and address the two things that make a slab look cheapest: hard edges and an empty, flat surface.

Daniel Carter covers the practical side of home improvement at The Dailey House — drainage fixes, DIY yard projects, patio makeovers, and the kind of weekend builds that actually get finished. If there's a smarter or cheaper way to do it, he's tested it.