

$200 won’t get you new pavers or a full stain job on anything larger than a small patio, but it’s enough to completely change how a slab reads if you spend it on the right three or four things instead of spreading it thin. Here’s an actual plan, with real numbers, for a 10×12 slab — the most common size for a starter patio.
Step 1: Clean and Repair First (Cost: $15–$25)
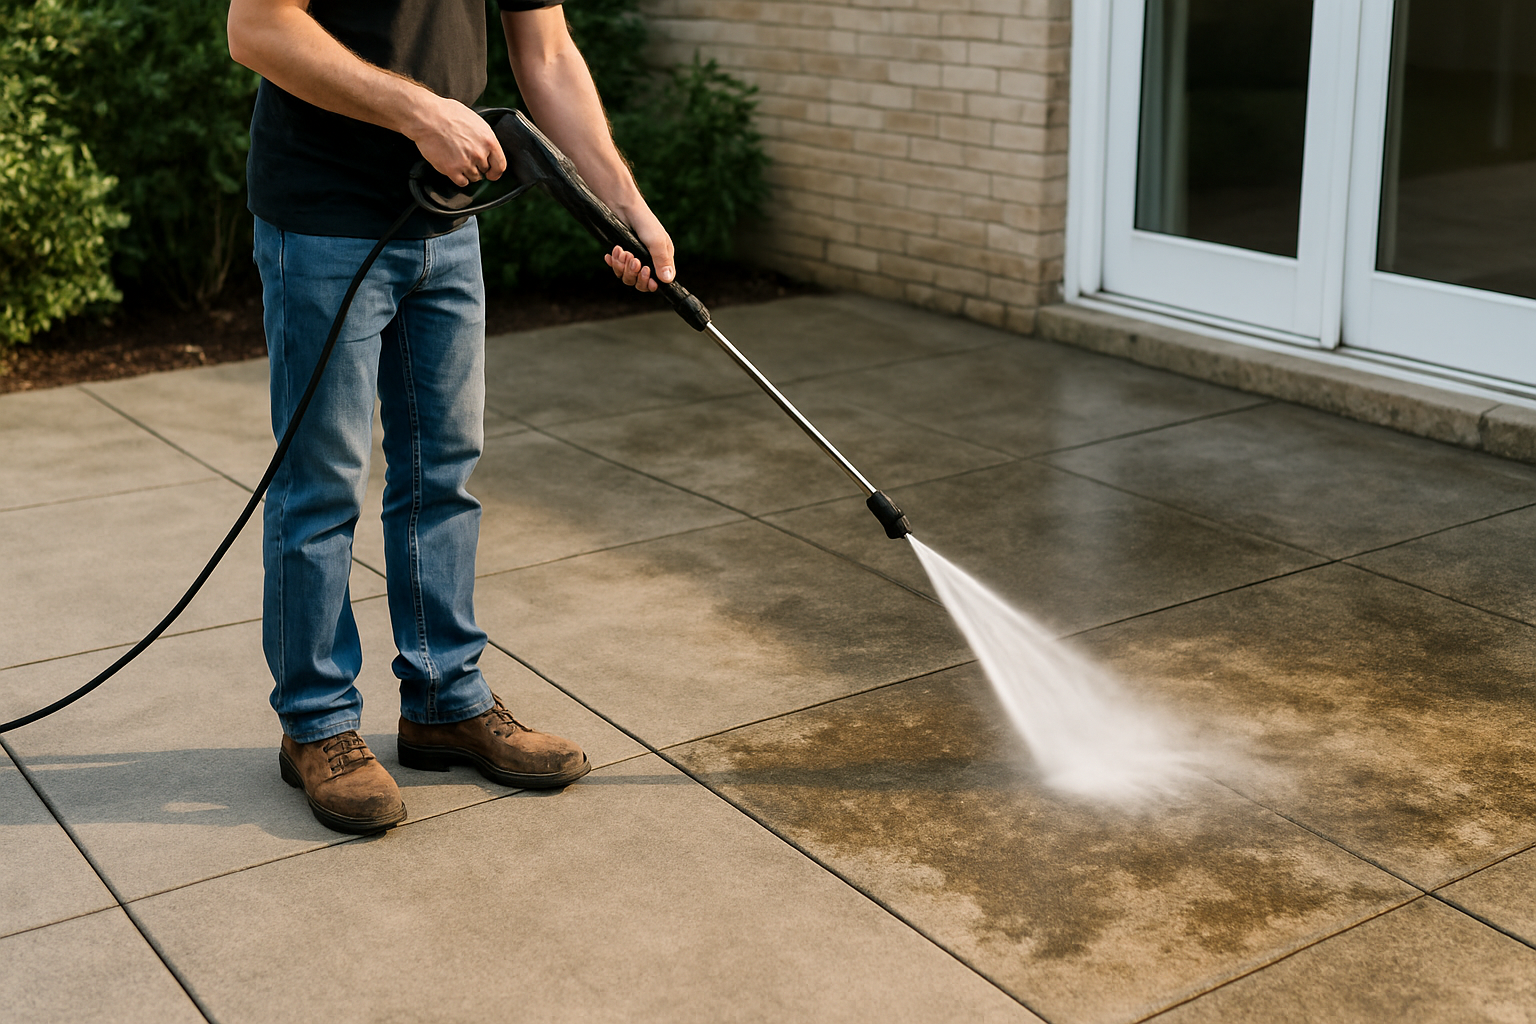
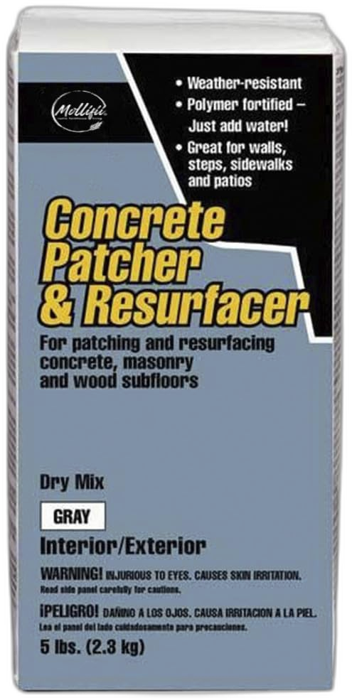
Skip this step and everything else you do will look worse, not better. A pressure washer rental or attachment ($15–$20 for a day) removes years of grime, algae, and stains that no amount of decorating disguises. While it’s wet, check for cracks — hairline cracks under 1/8″ can be filled with a $6 tube of concrete crack filler in about ten minutes. Bigger structural cracks are a separate problem this budget won’t fix, and you should treat them as a sign to prioritize a coating or overlay option over paint, since paint will telegraph the crack right through.
Step 2: Pick One Big Move (Cost: $60–$100)
This is where most of your budget goes, and it should go toward the single change that affects the most square footage. For a 10×12 slab (120 sq ft), pick one:
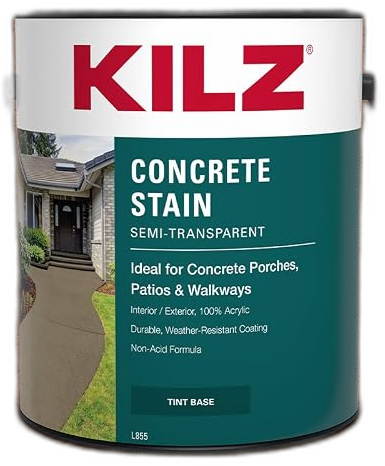
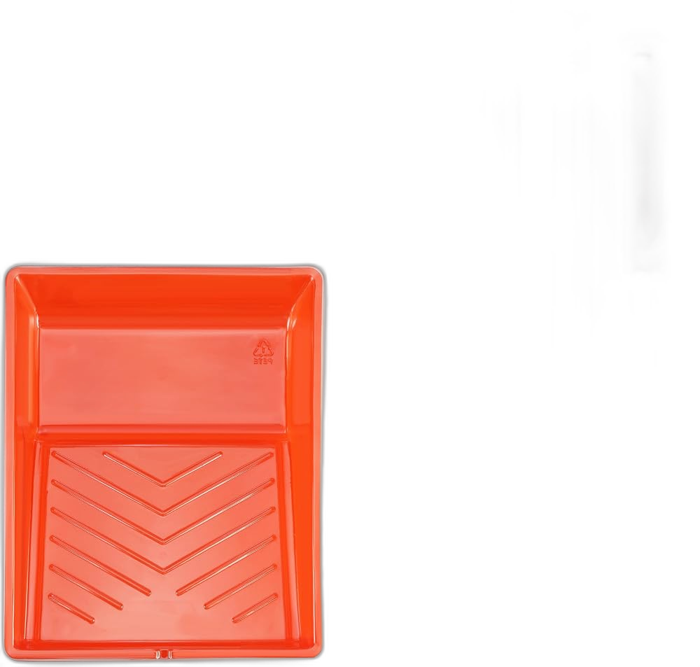
- Concrete paint in a warm neutral. Two 5-gallon buckets of exterior concrete paint covers 120 sq ft with two coats for roughly $80–$100. This is the highest-impact, lowest-effort option on this list — a full day including dry time, most of it just waiting.
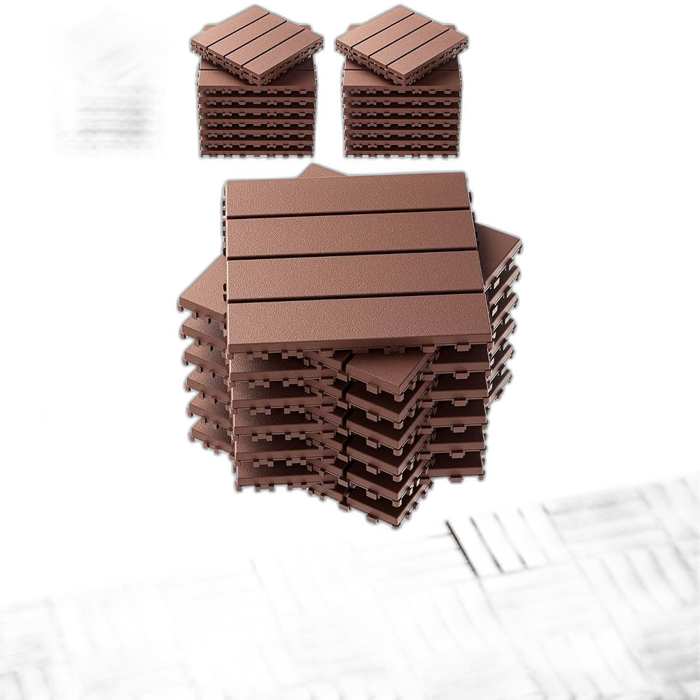
- Interlocking deck tiles for a defined seating zone only, not the whole slab. Covering an 8×8 section (64 sq ft) with budget composite tiles runs about $100–$130, leaving the remaining slab visible as a “border” — which, combined with Step 3 below, actually looks intentional rather than incomplete.
- A large statement outdoor rug plus a smaller layered accent rug. Budget polypropylene rugs in the right sizes run $50–$90 combined and instantly cover the least attractive part of the slab (usually the center, under furniture) without any labor at all.
Step 3: Fix the Edges (Cost: $40–$60)
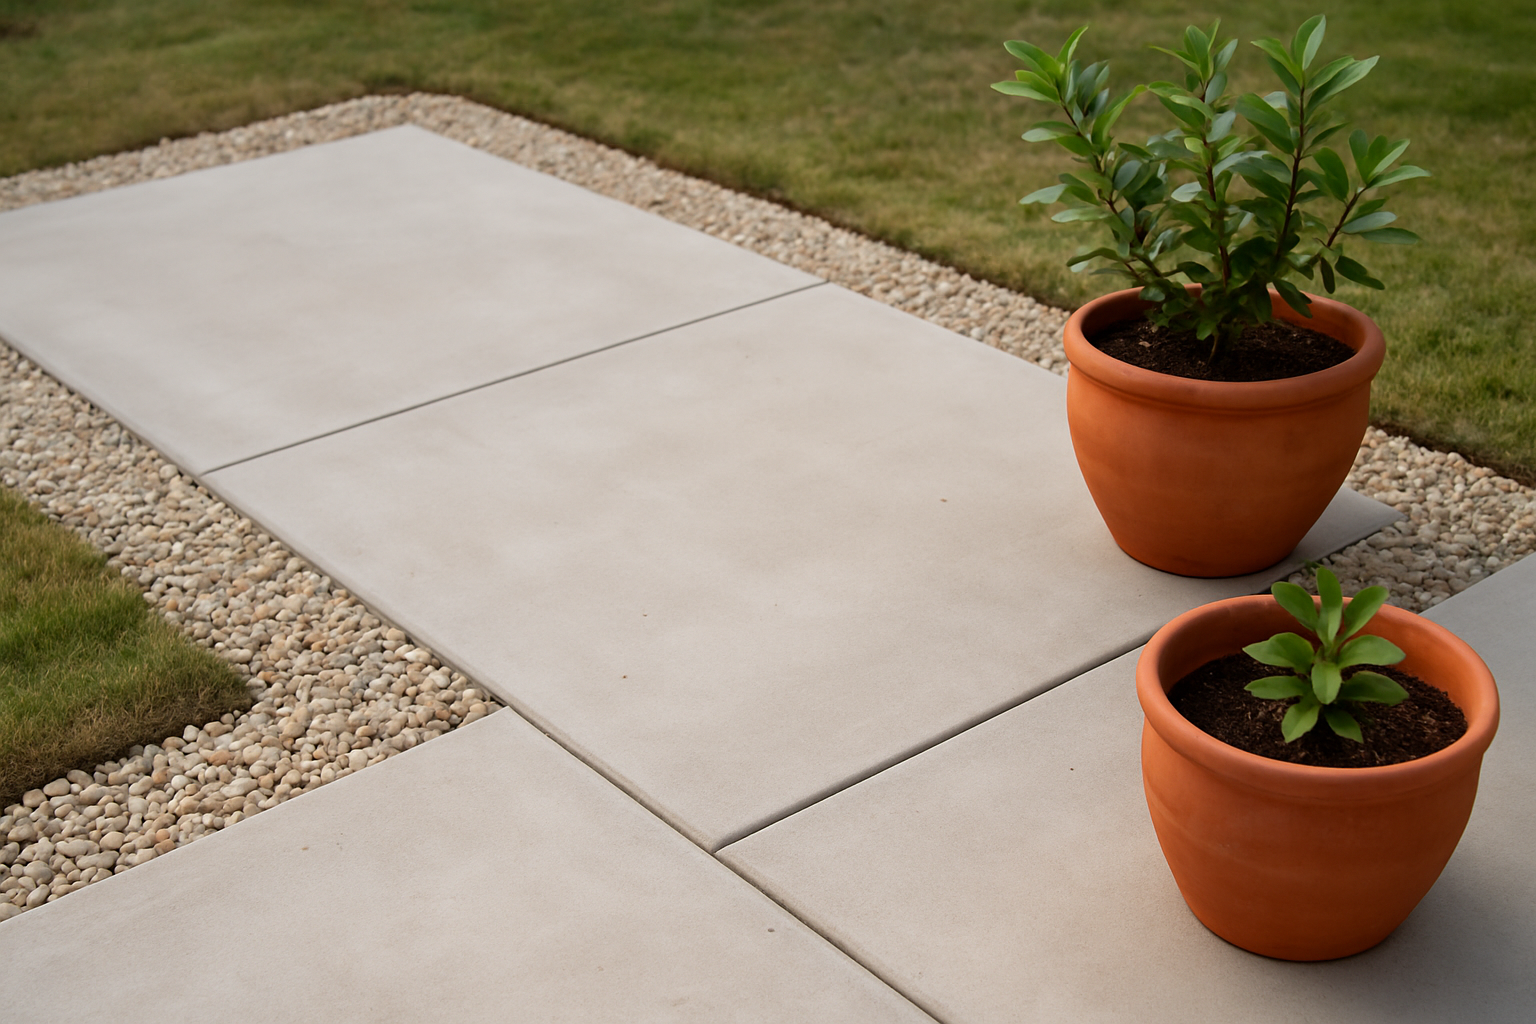
Whatever you did in Step 2, the slab still has hard, straight edges against the lawn, and that’s what your eye catches first. A bag or two of pea gravel ($5–$8 each) laid in a 12″ border around the slab’s edge costs under $30 and takes an hour with a rake. If you have $20–$30 left, three or four 12″ terracotta pots ($6–$10 each from a big box store) placed at the corners — not lined up along the edge — do more to break up the rectangle than the same money spent anywhere else.
Step 4: One Detail That Isn’t the Floor (Cost: $20–$30)
Save whatever’s left for something that draws the eye up and off the ground: a $20–$25 set of warm-white solar string lights strung between two points, or a single $25 outdoor lantern for the table. This is the step people skip when they’re on a budget, and it’s the one that makes photos of the finished patio actually look finished rather than “in progress.”
The Full Budget Breakdown
| Step | Low | High |
|---|---|---|
| Clean and repair | $15 | $25 |
| Main floor treatment | $60 | $130 |
| Edge treatment | $40 | $60 |
| Lighting or one detail | $20 | $30 |
| Total | $135 | $245 |
Stay on the low end of each step and you’ll land right around $150, with room to spare for a $30–$40 impulse buy at the garden center. The order matters more than the total: clean and repair first, one big floor move second, edges third, and the finishing detail last. Doing them out of order — buying furniture before fixing the floor, for instance — is how a patio makeover ends up costing more than $200 without looking any better than when you started.
What This Budget Won’t Fix
Be honest with yourself about what’s actually wrong with the patio before starting. This plan assumes a structurally sound slab with a purely cosmetic problem. If your patio has standing water after rain, major cracks, or heaving from tree roots, none of the steps above address that — you’d be decorating over a problem that will eventually undo the work anyway. Solve drainage and structural issues first, even if it means a smaller cosmetic budget this year.
Supplies for This Concrete Makeover
Frequently Asked Questions
Is $200 realistic for a patio bigger than 10×12?
For a larger slab, focus the paint or tile budget on the main seating zone only rather than the whole area — a partial floor treatment combined with edge and lighting work still transforms the overall impression even if you can’t cover every square foot.
Should I buy furniture with this budget instead?
Only if you already have a floor treatment you’re happy with. This plan assumes the floor is the actual problem; if your patio already looks fine and just feels empty, redirect this budget toward a single bistro set or bench instead.

Daniel Carter covers the practical side of home improvement at The Dailey House — drainage fixes, DIY yard projects, patio makeovers, and the kind of weekend builds that actually get finished. If there's a smarter or cheaper way to do it, he's tested it.