

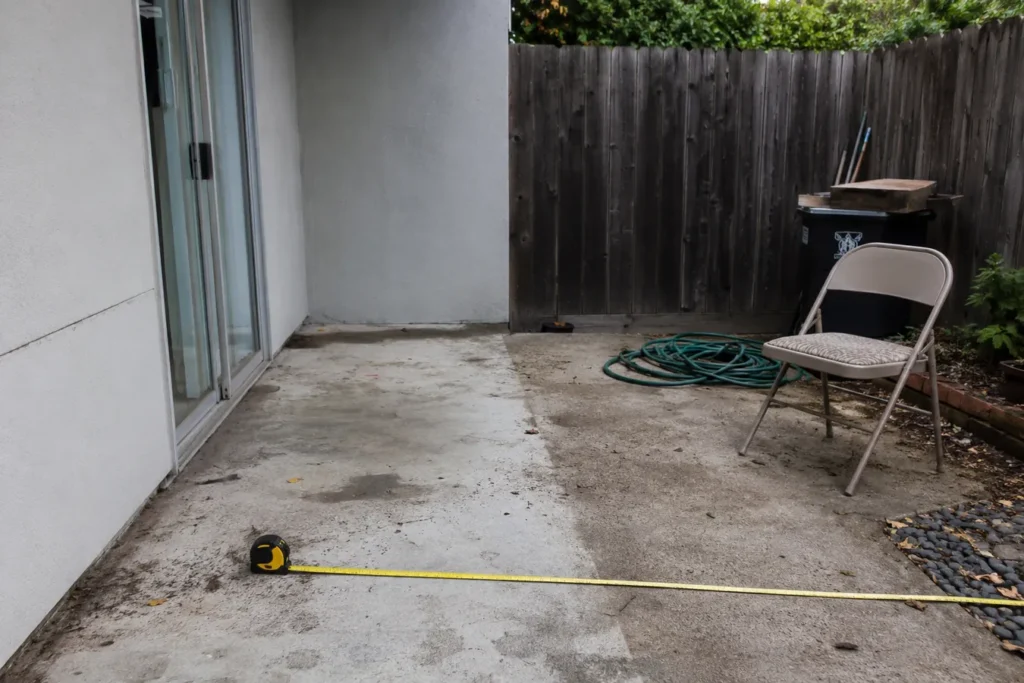
You walked outside, looked at your patio, and felt nothing but overwhelm. Too much clutter, no clear style, and no idea what to buy first.
This guide breaks your patio makeover into 7 small steps, in the exact order to tackle them — so you stop scrolling inspiration photos and start actually making progress today.
Why Patio Makeovers Feel So Overwhelming
Most beginners start in the wrong place: they open a shopping site before they’ve measured their space, set a budget, or picked a style. That’s why a “quick patio refresh” turns into 14 open tabs and zero purchases.
The fix is order of operations. Do these 7 steps in sequence, and the overwhelm disappears — because each step narrows your choices for the next one.
What You’ll Need Before You Start
- A tape measure
- Your phone camera (to photograph the space from a few angles)
- A rough budget number in mind
- 20 minutes, uninterrupted, standing on your actual patio
That’s it. No Pinterest board required yet.
Step 1: Measure and Assess Your Actual Space
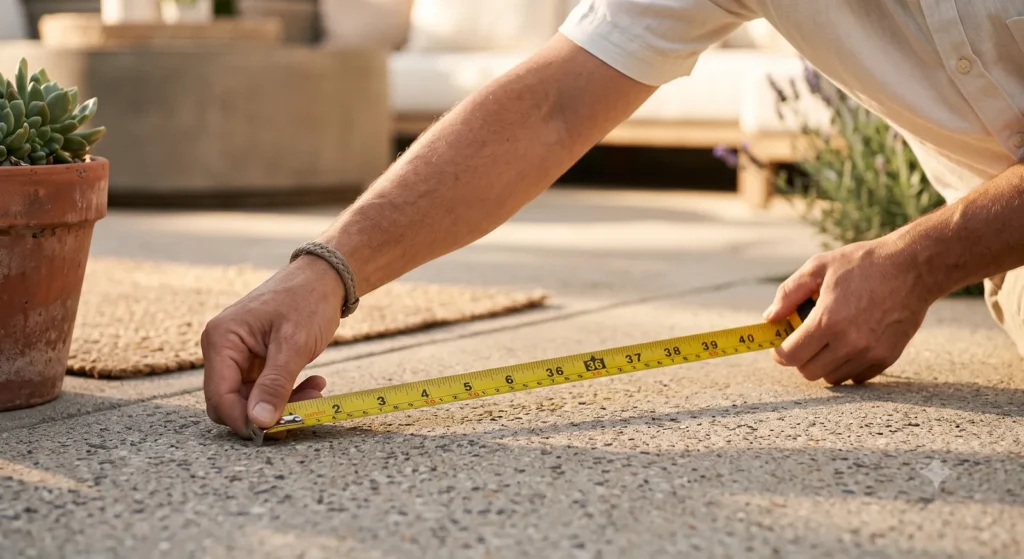
Before anything else, walk outside and measure. Get the total footprint, note where the sun hits at different times of day, and identify any obstacles — vents, downspouts, uneven pavers, a shared wall.
Write these three numbers down: total square footage, longest clear wall, and widest open floor area. These three numbers will decide what furniture you can even consider later.
If you’re working with a tight space, our guide on [INTERNAL LINK: 10 Best Small Patio Furniture Pieces (With Exact Sizes That Fit)] has real dimensions for exactly this kind of measuring-first approach.
Step 2: Set a Real Budget (Not an Aspirational One)
Pick a number you’re actually comfortable spending, then split it roughly like this:
- 50% — furniture (the biggest visual impact)
- 20% — flooring or ground cover (rug, pavers, outdoor tile)
- 15% — lighting
- 15% — plants and finishing touches
This split matters because beginners tend to blow the whole budget on one showpiece chair, then have nothing left for the layers that actually make a patio feel finished.
💰 Budget Splitter
Enter your total budget to see the recommended split.
Step 3: Pick ONE Style Direction — and Stop Looking at Others
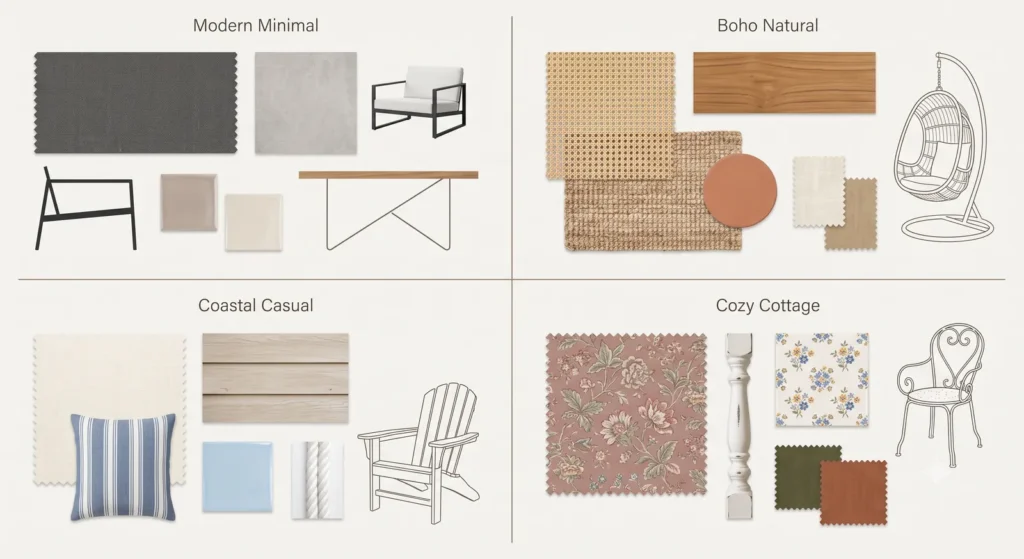
This is the step that saves you from decision paralysis. Choose one direction and commit before you shop:
- Modern minimal — clean lines, neutral colors, one accent color max
- Boho natural — rattan, warm wood tones, layered textiles
- Coastal casual — whites, blues, light woods, breezy fabrics
- Cozy cottage — florals, mismatched vintage-style pieces, warm color palette
Once you pick one, close every other inspiration tab. Every future purchase gets filtered through this one lens — that's what makes a beginner patio look intentional instead of random.
Step 4: Start With the Base Layer
Before furniture, handle what's under your feet. This is the step beginners skip most often, and it's the one that makes the biggest visual difference for the smallest amount of money.
Options depending on your surface:
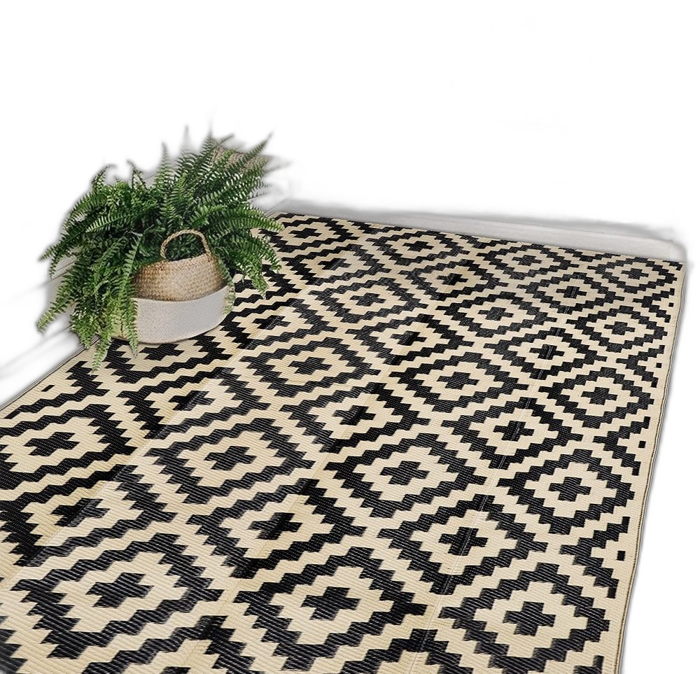
- Plain concrete → an outdoor rug instantly warms it up
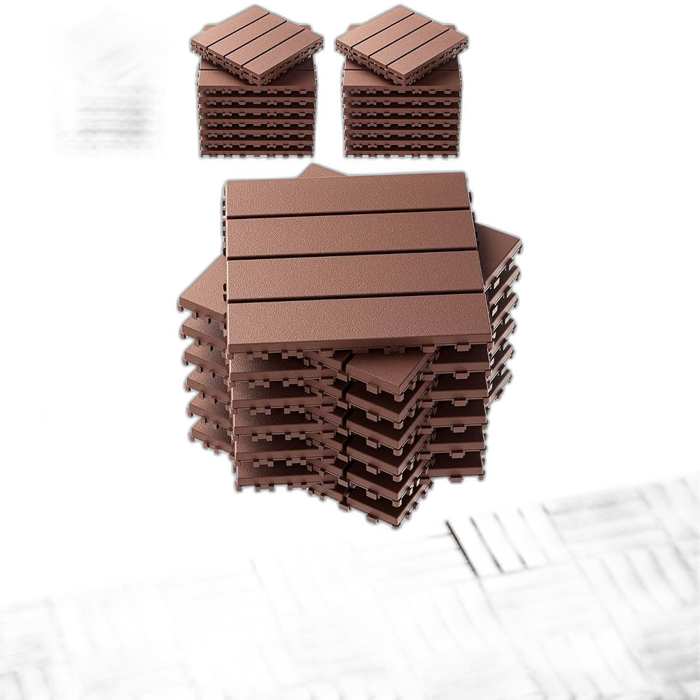
- Cracked or ugly pavers → interlocking deck tiles snap over the top with no tools
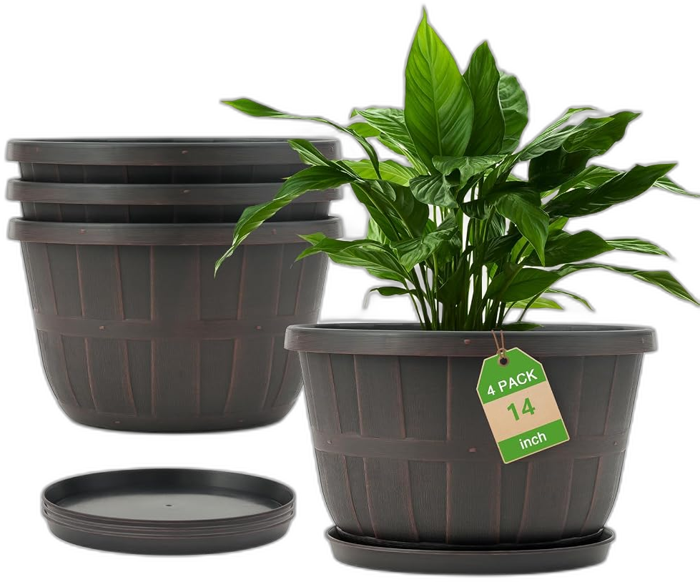
- Bare dirt or gravel → a simple outdoor rug plus a few strategically placed planters defines the "room"
Think of this step as laying down the walls of an outdoor room — everything else gets built on top of it.
Step 5: Add Your Core Furniture (Just the Essentials First)
Using the measurements from Step 1, choose only the essential pieces first — a seating spot and a surface. Resist adding "extras" until the basics are in and you've lived with the space for a week.
Beginner-friendly starting combo:
- One seating piece sized to your longest clear wall
- One small table or surface within arm's reach of the seating
- Leave the rest of the floor empty — you can always add later, but you can't un-clutter a space that's already full
If you're short on square footage, foldable and multi-use pieces (like a folding bistro set or a storage ottoman that doubles as a side table) let you test the layout without committing to something permanent.
Step 6: Layer in Lighting
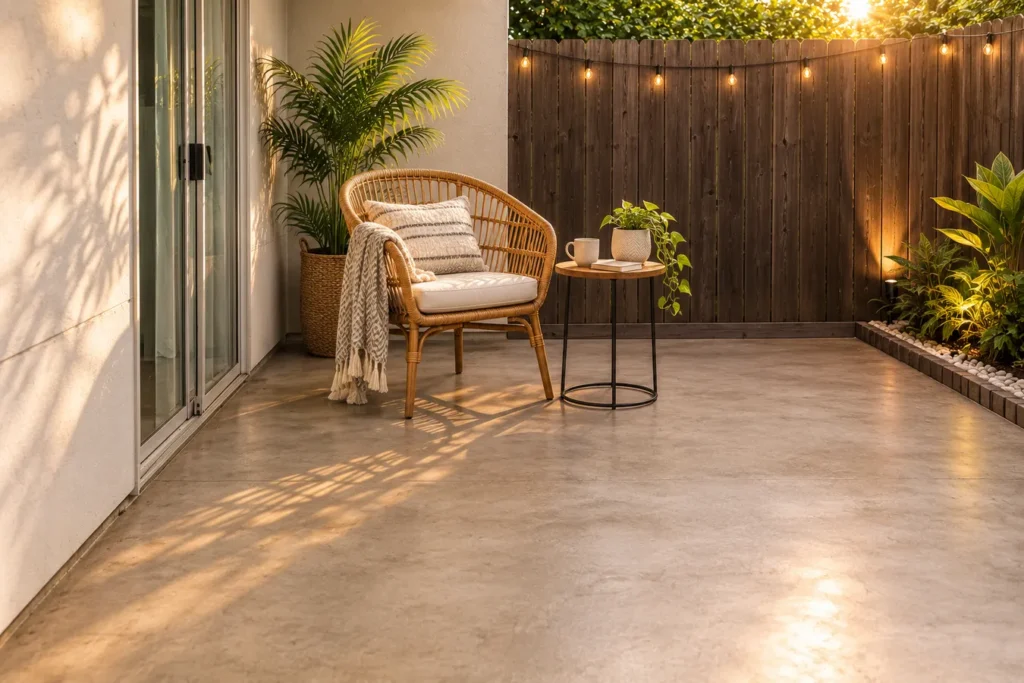
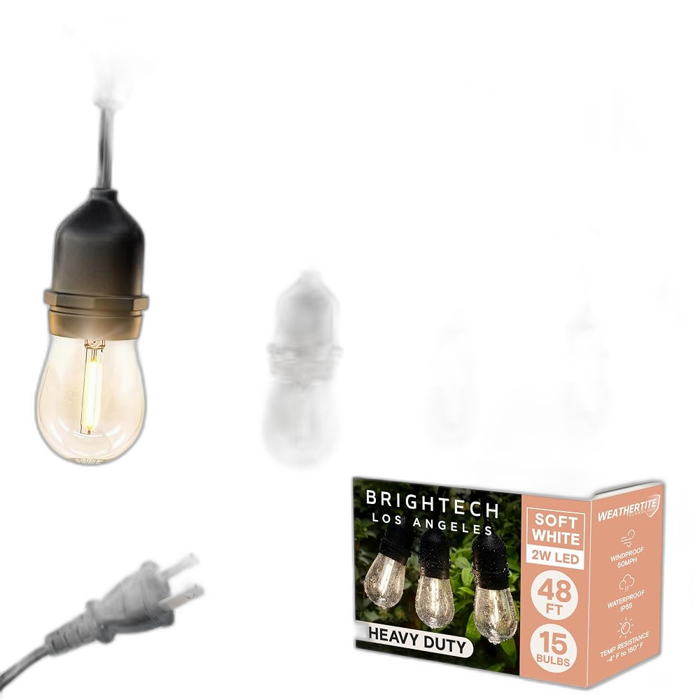
Lighting is the fastest way to make a beginner patio look finished, and it's often skipped entirely. You don't need an electrician — string lights, solar lanterns, and battery-powered candles all work without any wiring.
Layer at least two light sources:
- One ambient source (string lights overhead or along a railing)
- One task source (a lantern or small lamp near your seating)
This two-source layering is the difference between a patio that looks "styled" and one that just has a single bare bulb overhead.
Step 7: Add Greenery and Personal Touches Last
Save plants, throw pillows, and decor for the very last step — once the bones of the space are in place, it's much easier to see what it actually needs, instead of guessing and overbuying.
Start with just 2–3 items:
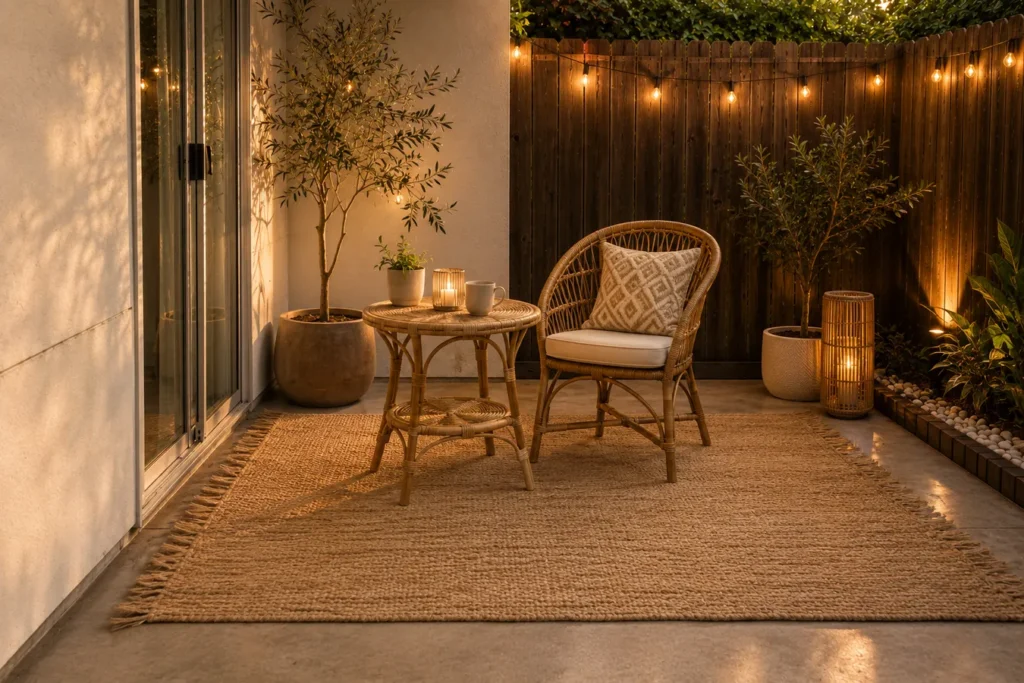
- One statement plant (tall and easy-care, like a olive tree or snake plant)
- One or two smaller potted plants at different heights
- A single textile layer (an outdoor pillow or throw) in your chosen style's colors
Common Beginner Mistakes to Avoid
Buying furniture before measuring. This is the single most common (and most expensive) mistake — a set that looks great online can make a small patio feel impossible to walk through.
Mixing every style you like. Boho cushions with modern furniture and cottage lanterns reads as clutter, not curated.
Skipping the base layer. Furniture placed directly on bare concrete or cracked pavers never looks finished, no matter how nice the pieces are.
Buying everything at once. Living with the space for a week between steps helps you catch what's missing — before you've already spent the whole budget.
🪴 Patio Makeover Starter Checklist
Check off each step as you complete it, in order.
Patio Picks That Fit This Guide
Frequently Asked Questions
How much does a beginner patio makeover cost?
A basic patio makeover can start around $200–$500 for a small space using budget-friendly furniture, a rug, and string lights, while a fuller makeover with higher-end furniture typically runs $800–$2,000+. Following the 50/20/15/15 budget split above helps you avoid overspending on any single category.
What should I buy first for a patio makeover?
Don't buy anything first — measure and set your budget first. Once you know your space and spending limit, your first purchase should be the base layer (rug or tiles), followed by core seating.
How do I make a small patio not feel cluttered?
Stick to one style direction, choose multi-use furniture, and add decor last — in that order. Most cluttered-feeling patios are the result of skipping the "pick one style" step and buying decor before the furniture layout is settled.
Do I need a designer to do a patio makeover?
No. Breaking the project into these 7 sequential steps is specifically designed to remove the need for a designer — each step narrows your decisions so the next one becomes obvious.
How long does a beginner patio makeover take?
Most beginners can complete steps 1–4 in a single weekend. Steps 5–7 are best spread out over 1–2 weeks so you can live with the space and adjust before adding the final decor layer.
Final Thoughts
A patio makeover feels impossible when you try to do everything at once. Broken into these 7 steps — measure, budget, pick one style, base layer, core furniture, lighting, then finishing touches — it becomes a simple weekend project instead of an overwhelming one.

Daniel Carter covers the practical side of home improvement at The Dailey House — drainage fixes, DIY yard projects, patio makeovers, and the kind of weekend builds that actually get finished. If there's a smarter or cheaper way to do it, he's tested it.