

The floor is 80% of what people notice about a patio, which is good news if your budget is tight — you don’t need new furniture, a pergola, or landscaping to change how the whole space reads. You need the right floor treatment for what you’re starting with. Here’s what actually delivers a high-end look without a high-end price, organized by how much you actually have to spend.
Under $100
- Outdoor rug layering. A budget jute-look or polypropylene rug ($40–$80) under a smaller patterned accent rug creates depth that a single rug can’t. Polypropylene specifically is mold- and mildew-resistant, which matters outdoors in a way it doesn’t inside — real jute will break down within a season if it gets rained on repeatedly.
- Sand-set gravel pathways framing a seating area. Pea gravel is one of the cheapest hardscape materials available (roughly $40–$50 per ton, which covers a lot of ground), and a defined gravel “room” reads as intentional landscaping rather than bare dirt or grass.
- Painted concrete with a stencil border. Solid-color concrete paint plus a single stenciled Greek-key or tile-pattern border along the edges mimics the look of imported tile for a fraction of the cost. A single stencil kit runs $20–$35 and can be reused for touch-ups for years.
$100–$300
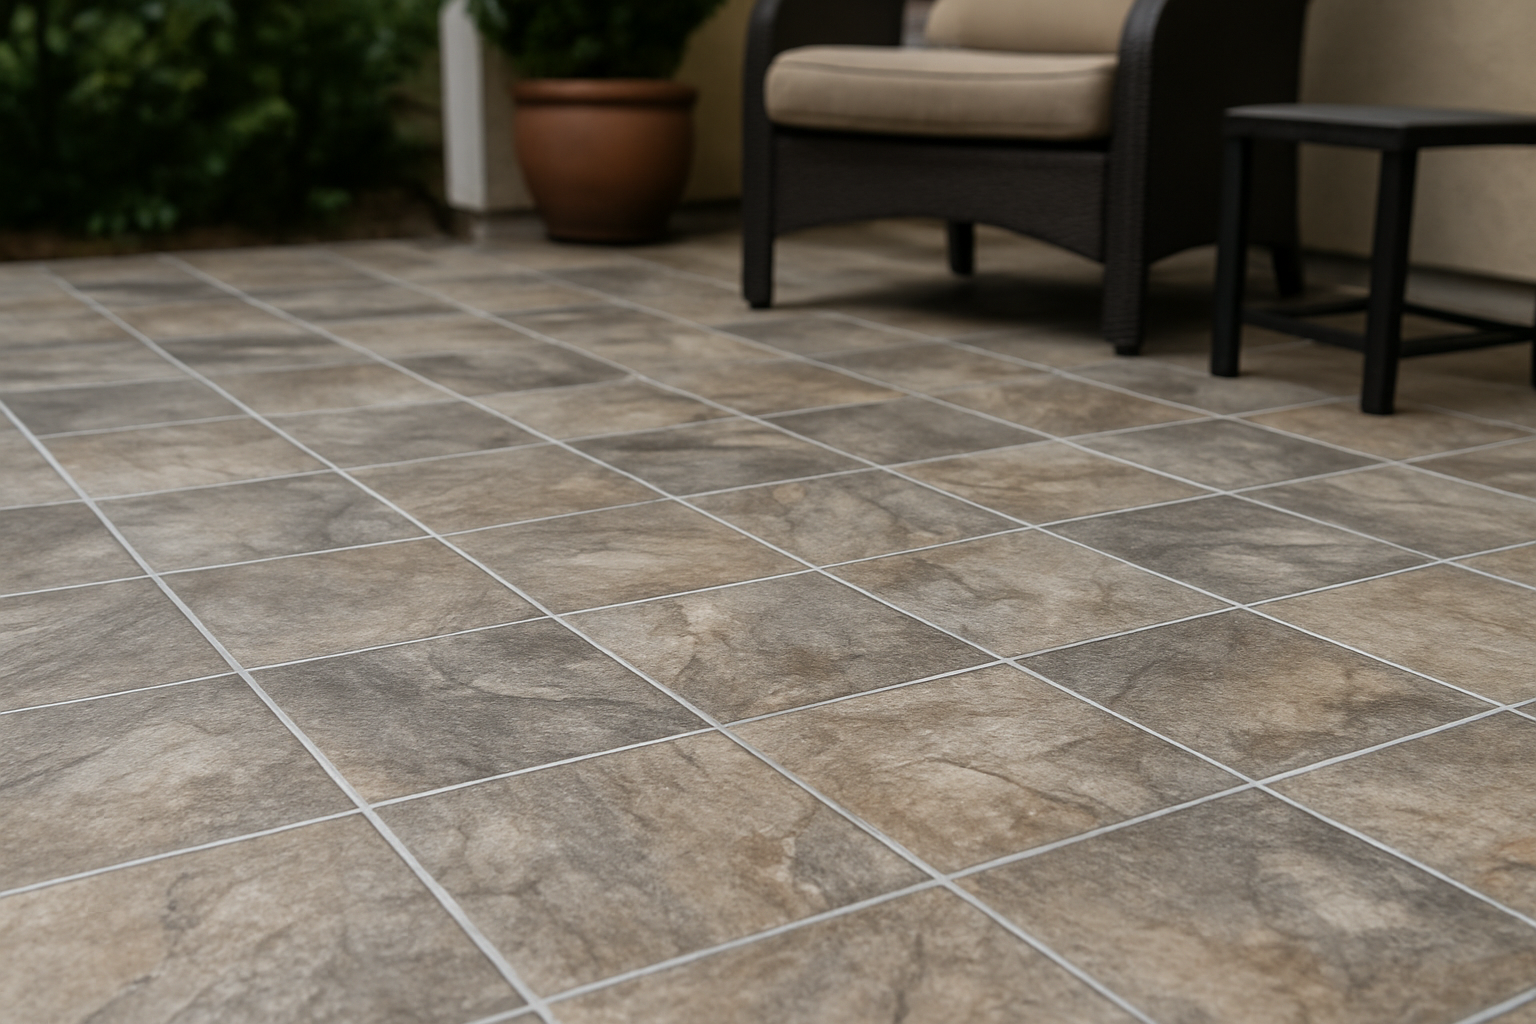
- Interlocking composite deck tiles. These click together without adhesive and can go directly over concrete, pavers, or packed dirt. A 100 sq ft area typically runs $200–$300 for mid-grade composite, and the whole install is a few hours of work with no tools beyond a rubber mallet and a saw for edge pieces. EchoDeck’s interlocking tiles are a solid mid-range option in this category.
- Peel-and-stick outdoor vinyl tile. Rated for outdoor use (check the product specifically says exterior-rated — standard peel-and-stick vinyl isn’t), these mimic stone or wood-look flooring and install in an afternoon. Surface prep matters more than the tile itself here: the slab needs to be completely clean, dry, and free of any residual sealer for the adhesive to bond properly.
- Rubber paver tiles. Originally a playground/gym product, rubber pavers now come in wood-look and stone-look finishes. They’re soft underfoot, drain well, and hide an uneven or cracked slab better than rigid tile does, since the material flexes slightly rather than rocking on an uneven spot.
$300–$600
- DIY paver patio over a small footprint. Full paver installation is expensive at scale, but a small 8×10 seating nook — rather than the whole yard — keeps material costs (and the labor of leveling a sand base) manageable for a weekend DIY project. Budget roughly a full day just for excavating and leveling the base before a single paver goes down.
- Acid-stained concrete. Professional-grade acid stain applied yourself runs $2–$4 per square foot in materials. The mottled, natural-stone look this produces is the single best value-to-impact ratio on this list if your slab is already in decent shape structurally.
- Faux wood porcelain tile. More expensive than vinyl but far more durable and genuinely difficult to distinguish from real wood decking from a few feet away — without the maintenance real wood requires, like annual staining or sealing.
What Actually Makes These Look “High-End” Instead of Cheap
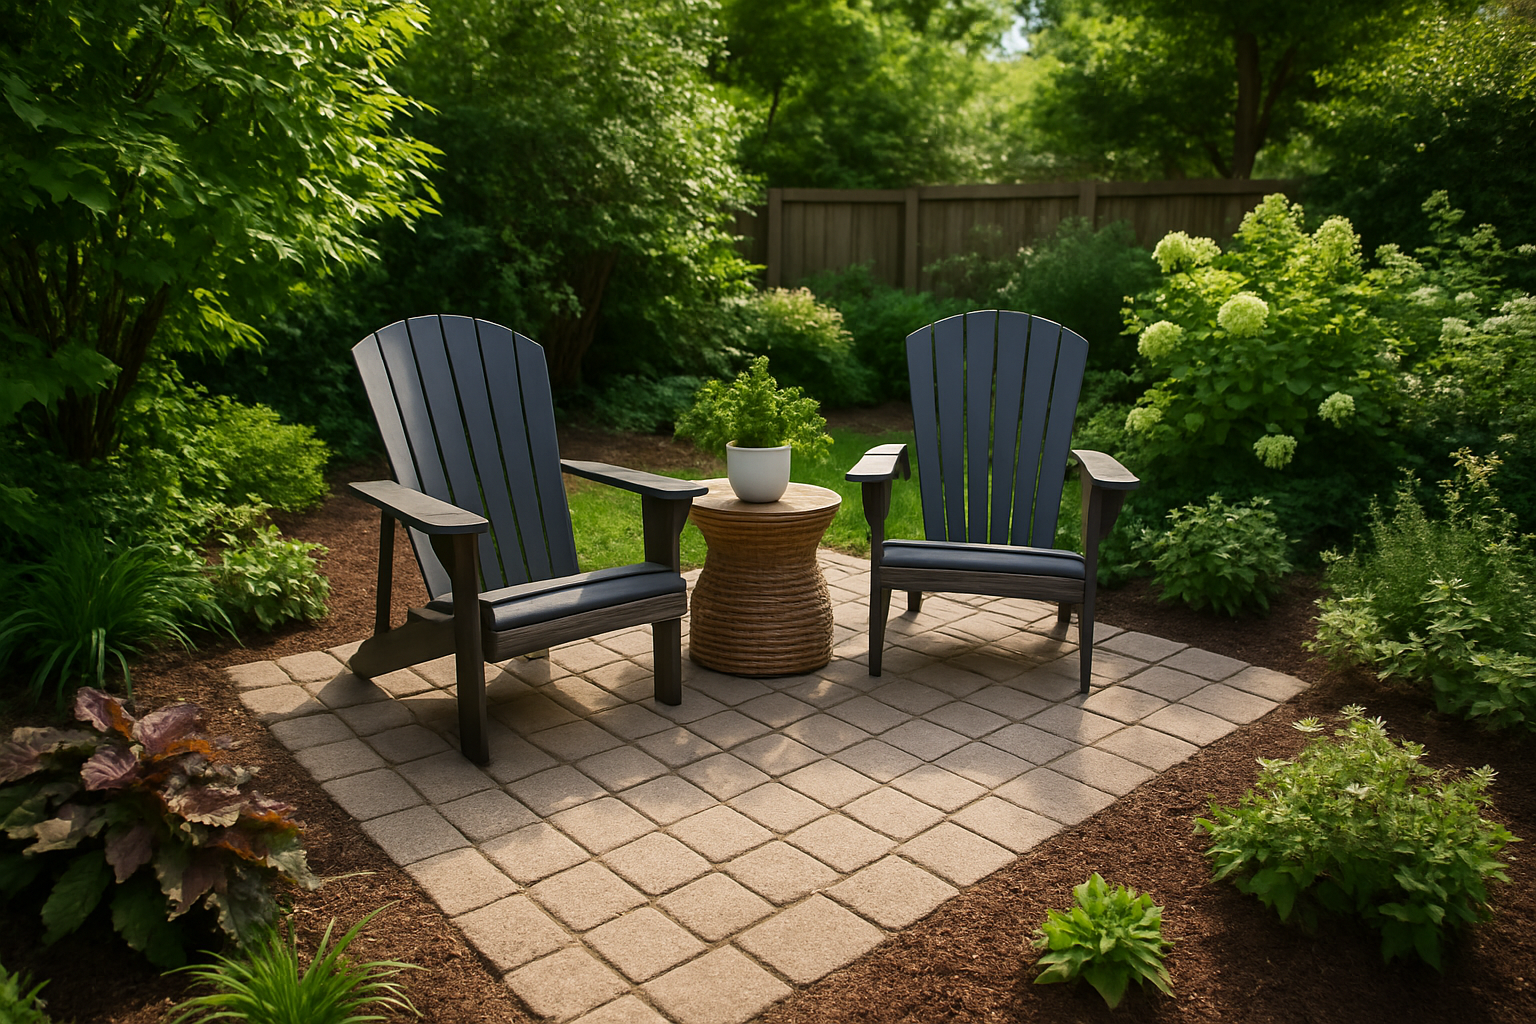
Material choice matters less than most people think. The details that separate a budget patio floor from a builder-grade one are almost always in the execution:
- Clean, straight edges. Wherever your floor treatment meets grass, gravel, or a wall, a crisp edge reads as professional even with the cheapest material. A wobbly edge makes even real stone look like a DIY project gone wrong.
- Consistent color temperature. Mixing warm-toned wood-look tile with cool-gray stone-look rugs looks accidental. Pick one temperature (warm terracotta/wood tones, or cool gray/charcoal tones) and stay in that family throughout the whole space.
- One pattern, not three. A striped rug, a geometric side table, and a floral planter in the same sightline reads as clutter regardless of how much any individual piece cost.
- Proper drainage before you install anything. Interlocking tiles and pavers laid over a spot that already holds water will heave, mold, or shift within a season. If your slab has a low spot, address that first — a cheap fix now costs far less than replacing flooring that failed within a year.
A Simple Way to Decide
If you’re renting or might move within a couple of years, stay in the removable categories — rugs, interlocking tiles, rubber pavers. If you own the home long-term and the slab is in decent shape, acid stain gives you the best permanent result for the money. If the slab itself has real problems (major cracks, poor drainage, significant unevenness), spend your budget fixing that before any floor treatment, since none of the options above are designed to solve a structural problem, only a cosmetic one.
Frequently Asked Questions
Can you put peel-and-stick tile directly over old concrete paint?
Not reliably. Adhesive needs to bond to the concrete itself, and old paint is likely to peel away from the slab under the tile’s weight and foot traffic. Strip or sand off old paint first.
Do rubber pavers get hot in direct sun?
Yes, more than porcelain or light-colored composite — dark rubber absorbs more heat. If your patio gets full afternoon sun, look for lighter color options specifically, or reserve rubber for shaded areas.
What’s the single best budget upgrade if I can only do one thing?
Layered outdoor rugs. Under $100 combined, zero tools or labor beyond unrolling them, and they address the “flat, empty gray surface” problem that makes a patio floor look cheapest in the first place.

Daniel Carter covers the practical side of home improvement at The Dailey House — drainage fixes, DIY yard projects, patio makeovers, and the kind of weekend builds that actually get finished. If there's a smarter or cheaper way to do it, he's tested it.