

Close Menu
  • Home
  • Home Decor
    • Bedroom Decor Ideas
    • Small Apartment Decor
    • Smart & Functional Decor
    • Home Office
    • Renter-Friendly Decorating
    • Budget Decor & Thrift Flips
    • Seasonal & Holiday Decor
  • Outdoor & Garden
    • Yard Drainage Solutions
    • Patio Makeover Ideas
    • Curb Appeal Ideas
    • Flower Bed and Garden Ideas
  • Reviews
  • Free Tools ✦
    • Rug Size Calculator
    • Paint Coverage Calculator
    • Interior Design Style Quiz
    • Room Colour Palette Quiz
    • Curtain Size Calculator
    • Board & Batten Calculator
  • About Us
Pinterest
Pinterest
TheDaileyHouse
PIN WITH US
  • Home
  • Home Decor
    • Bedroom Decor Ideas
    • Small Apartment Decor
    • Smart & Functional Decor
    • Home Office
    • Renter-Friendly Decorating
    • Budget Decor & Thrift Flips
    • Seasonal & Holiday Decor
  • Outdoor & Garden
    • Yard Drainage Solutions
    • Patio Makeover Ideas
    • Curb Appeal Ideas
    • Flower Bed and Garden Ideas
  • Reviews
  • Free Tools ✦
    • Rug Size Calculator
    • Paint Coverage Calculator
    • Interior Design Style Quiz
    • Room Colour Palette Quiz
    • Curtain Size Calculator
    • Board & Batten Calculator
  • About Us
Home»DIY Crafts & Projects»Best Paint for Pumpkins: A Beginner’s Guide to Painting That Lasts

Best Paint for Pumpkins: A Beginner’s Guide to Painting That Lasts

Daniel CarterBy Daniel CarterOctober 6, 20267 Mins Read0 Views
Share
Facebook Twitter LinkedIn Pinterest Email Copy Link

This post contains affiliate links. As an Amazon Associate, I earn from qualifying purchases at no extra cost to you.

Not all paint works on a pumpkin. Pick the wrong one, and it flakes, runs, or peels off before Halloween even arrives. Pick the right one, and your pumpkin can last weeks, inside or out.

Here is exactly which paint to use, how to prep your pumpkin so the paint actually sticks, and the mistakes that ruin most first attempts.

The Best Paint Types for Pumpkins, Compared

Acrylic craft paint is the top pick for most people. It sticks well to pumpkin skin, dries fast, and comes in almost any color. It works for both real and fake pumpkins.

Tempera or washable paint is the safest choice for young kids. It washes off skin and clothes easily. But it does not last. Rain or heavy handling will ruin it. Save it for indoor, short-term pumpkins only.

Spray paint covers a whole pumpkin fast and gives the smoothest finish. It works best outdoors or in a space with good airflow. It is a great choice for a solid base color before you add details.

Paint pens (posca-style markers) are the easiest way to add fine details, faces, or lettering. No brush skills needed — just draw.

Chalk-finish paint gives a soft, matte look that photographs beautifully. It needs a sealer afterward, same as acrylic.

What You’ll Need

  • Acrylic paint (or your chosen paint type from above)
  • A sealer, spray or brush-on
  • Foam brushes — cheap ones work great and are easy to clean
  • A soft cloth for wiping down the pumpkin
  • A drop cloth or newspaper for your work surface
Save
Shop the Look
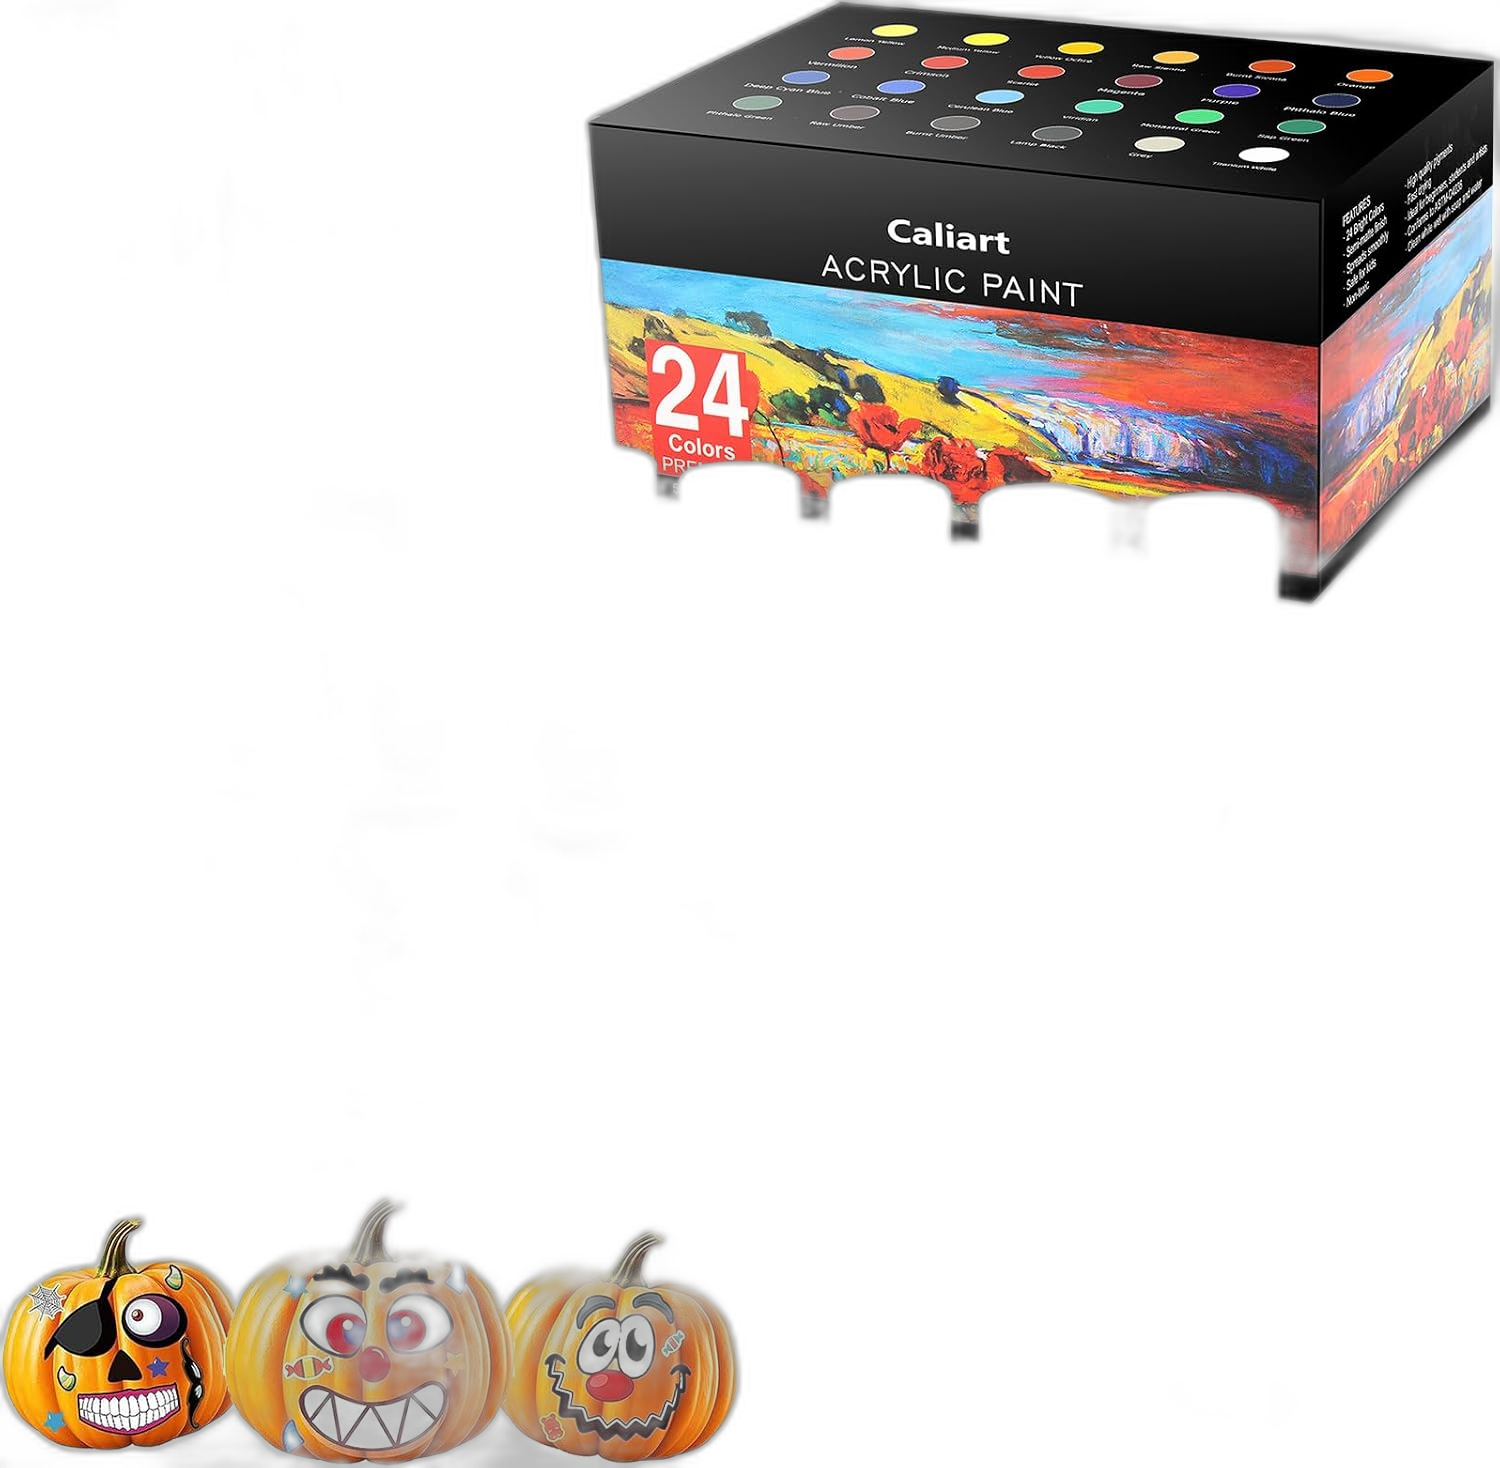
24-Color Acrylic Paint Set With Brushes
24 colors plus 12 brushes included
Works on real and foam pumpkins
Rich pigment, good coverage in one coat

Shop on Amazon

Step 1: Pick a Clean, Blemish-Free Pumpkin

Soft spots or bruises will only get worse once paint is added. Wipe the pumpkin down with a soft, dry cloth to remove dust and dirt before you start.

Step 2: Seal It First

This is the step almost everyone skips, and it is the single biggest reason paint flakes off. Apply a base coat of sealer before you paint. Work one half of the pumpkin at a time, since it is round, and let each half dry fully before moving to the next.
Save
Shop the Look
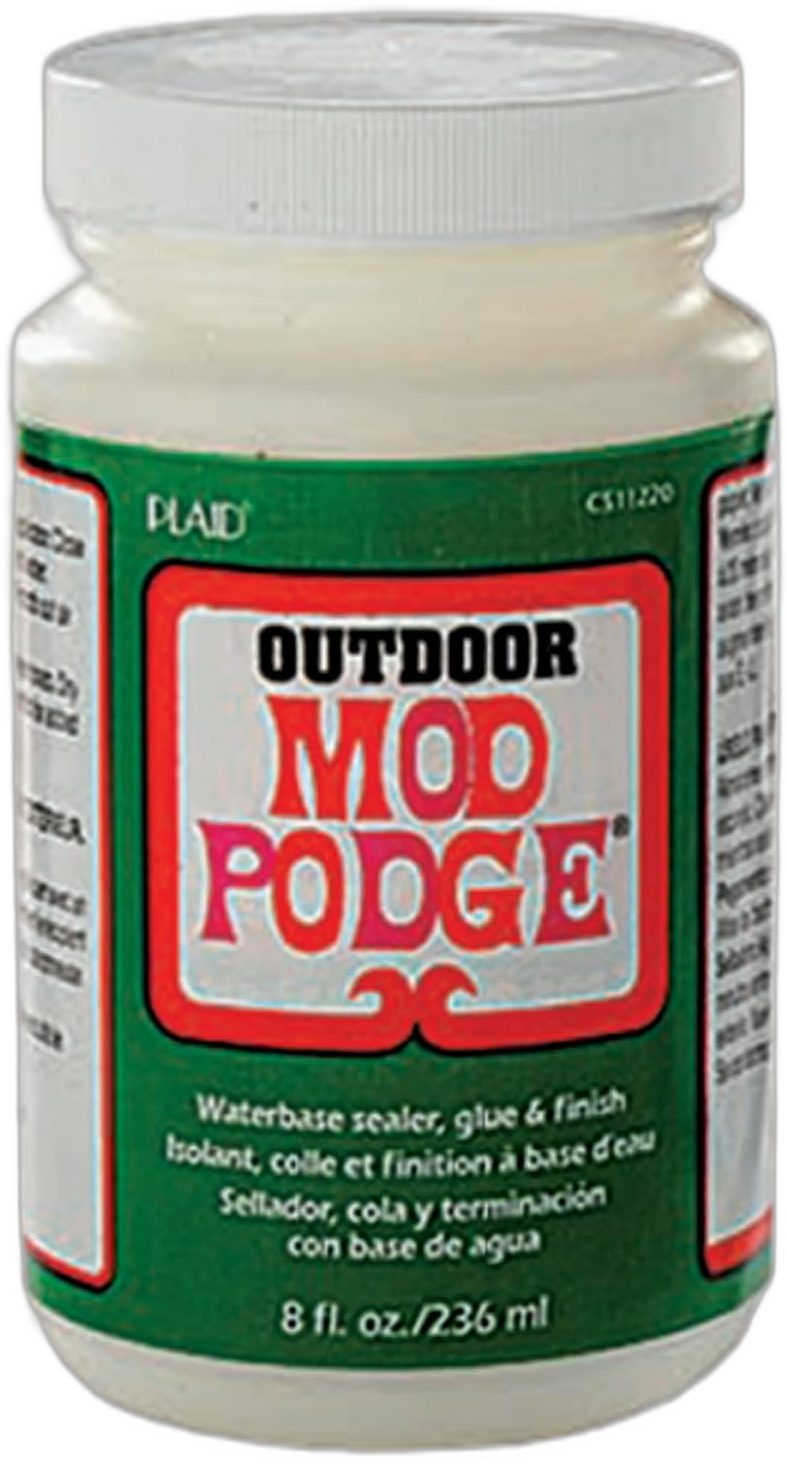
Outdoor-Rated Craft Sealer
Rated for outdoor use and weather
Clear finish, won’t change paint color
Doubles as glue and finish

Shop on Amazon

Step 3: Paint in Sections

Paint the same way you sealed — one half at a time, letting each side dry completely before starting the other. This is a full project, not a quick one. Budget a few hours, or spread it across two days if you want a second coat.

Step 4: Seal It Again

Once the paint is fully dry, apply a second coat of sealer over the top. This locks the paint in and protects it from scuffs, light rain, and handling.

Step 5: Add the Details

Once both sealer coats are dry, this is where paint pens come in — faces, lettering, patterns, whatever you have planned. Fine details are much easier to add after the base paint is already sealed.

Save
Shop the Look
Dual-Tip Acrylic Paint Pens, 24 Colors
No brush skills needed — just draw
Dual tip for thin lines or fill-in
Works on top of sealed, dry paint

Shop on Amazon

Painting Pumpkins for Outdoor Display

Indoor and outdoor pumpkins need different sealers. A standard indoor sealer will not hold up to rain or sun. For a pumpkin that will sit on a porch or front step, use an outdoor-rated spray sealer, and plan on two full coats instead of one.

Real pumpkins only last so long outdoors, paint or no paint. A well-sealed one should hold up for several weeks. Cool weather makes it last longer. Warm or wet weather makes it last less.

Looking for more fall decor to pair with your pumpkins? See our guide to transitioning your home decor from summer to fall in one weekend.

Common Mistakes to Avoid

Skipping the sealer. This is the single most common mistake, and the reason most painted pumpkins fail before Halloween. Seal before and after, every time.
Painting a wet or dirty pumpkin. Moisture and dust both stop paint from bonding properly. Always start with a clean, dry surface.
Rushing the drying time. Painting over a half-dry section smears the work and weakens the bond. Let each coat dry fully, even if it means spreading the project over two days.
Using the wrong paint for the job. Washable kids’ paint looks great for an afternoon but will not survive a week outdoors. Match the paint type to how long you actually need the pumpkin to last.
Forgetting ventilation with spray paint and sealer. Work outside or in a well-ventilated garage, not a closed room.

Real vs. Fake Pumpkins — Does It Change the Paint?

Acrylic paint and sealer work on both real and craft-store foam pumpkins. The main difference is in the prep work. Foam pumpkins skip the blemish check and the drying-out step real ones need. But they still need a clean, dust-free surface. And they still benefit from two coats of sealer. Foam pumpkins also last indefinitely, so they are worth the extra sealer coat if you want to reuse them next year.

How Much Does This Project Cost?

Under $15A basic acrylic paint set and a pack of foam brushes. This covers one or two pumpkins easily.
$15 to $30A larger acrylic set with more colors, plus a bottle of sealer and a paint pen or two for details.
$30 and upEnough paint and sealer for several pumpkins, or a full kit with paint, sealer, brushes, and pens bundled together — worth it if you are painting pumpkins every year.

Quick Design Ideas If You Need Inspiration

Not sure what to paint? These are simple enough for a first try:

  • Solid color with a painted face — spray paint the base, then use a paint pen for the face
  • Stripes or a buffalo check pattern — paint white first, then add stripes once dry
  • Metallic or glitter top coat — paint a solid base, then dry-brush metallic paint over the raised ridges for a shimmer effect
  • Lettering only — skip the base paint entirely and use a paint pen directly on the natural pumpkin for a simple, rustic look

Frequently Asked Questions

What is the best paint to use on a real pumpkin?

Acrylic craft paint is the most reliable choice for most projects. It sticks well, dries fast, and holds up far better than washable or tempera paint once sealed properly.

Does acrylic paint stay on pumpkins?

Yes, as long as the pumpkin is sealed before painting and sealed again afterward. Skipping either sealer coat is the main reason acrylic paint flakes off.

How do you keep paint from cracking on a pumpkin?

Seal before and after painting. Let every coat dry fully before adding the next one. Avoid big temperature changes too — moving a freshly painted pumpkin from a warm house to a cold porch can crack the paint.

Can you paint a pumpkin and still carve it?

Carving should happen before painting, not after. Painted pumpkins are for display, not for cutting once finished. Carving through painted, sealed skin will crack the paint around the cut.

Daniel Carter
Website |  + postsBio ⮌

Daniel Carter covers the practical side of home improvement at The Dailey House — drainage fixes, DIY yard projects, patio makeovers, and the kind of weekend builds that actually get finished. If there's a smarter or cheaper way to do it, he's tested it.

  • Daniel Carter
    Summer Patio Decorating Ideas for 2026 (Budget-Friendly and Beautiful)
  • Daniel Carter
    Patio Design Mistakes That Make Your Outdoor Space Look Bad
  • Daniel Carter
    Concrete Pavers vs Patio Tiles: Which Is Cheaper for a Patio Makeover?
  • Daniel Carter
    Outdoor Living Trends for 2026: What the Best Patios All Have in Common
DIY fall decor halloween craft pumpkin painting
Share. Facebook Twitter Pinterest LinkedIn Tumblr Email
Leave A Reply Cancel Reply

Olivia Bennett

The Dailey House

@TheDaileyHouse

Home decor ideas, interior design inspiration & room makeovers for every style and budget.

P Follow on Pinterest

Cut Your Own Christmas Tree: What to Know First

October 7, 2026

Best Paint for Pumpkins: A Beginner’s Guide to Painting That Lasts

October 6, 2026

How to Install a Curtain Rod (Step-by-Step, No Experience Needed)

October 5, 2026

21 Renter-Friendly Decor Ideas That Won’t Cost You Your Deposit

October 2, 2026
Categories
  • Bedroom Ideas (5)
  • Budget Home Decor and Thrift Flips (2)
  • Cottage Core Farmhouse Aesthetic (4)
  • Curb Appeal Ideas (9)
  • DIY Crafts & Projects (1)
  • Expert Reviews (4)
  • Flower Bed and Garden Ideas (6)
  • Home Decor (12)
  • Home Office (3)
  • Outdoor & Garden (18)
  • Patio Makeover and Outdoor Living (11)
  • Renter-Friendly Decorating Ideas (3)
  • Seasonal and Holiday Home Decor (3)
  • Small Apartment Decorating Ideas (7)
  • Smart & Functional Decor (4)
  • Style Guides (1)
  • Window Treatments (1)
  • Yard Drainage Solutions (4)
About

TheDaileyHouse is a home lifestyle blog dedicated to helping you create a smarter, more comfortable living space. We share practical guides, product insights, and expert tips on home furniture, study desks, computer desks, and space-saving solutions for modern homes.

Our mission is simple: help you make better choices for your home. Whether you’re setting up a productive workspace, organizing a small room, or upgrading your furniture, our guides are designed to make the process easier and more informed.

Recent Posts

Cut Your Own Christmas Tree: What to Know First

Best Paint for Pumpkins: A Beginner’s Guide to Painting That Lasts

How to Install a Curtain Rod (Step-by-Step, No Experience Needed)

  • About Us
  • Contact us
  • Privacy Policy
  • Affiliate Disclaimer
  • AI Content Policy
  • Editorial Guidelines Policy
  • Terms and Conditions
Copyright © 2026 TheDaileyHouse | All Rights Reserved.

Type above and press Enter to search. Press Esc to cancel.