

future
Bare windows make a room feel unfinished. The good news: hanging a curtain rod is one of the easiest home projects there is. You do not need special skills. You just need the right steps, in the right order.
This guide covers two methods. One is a drilled, permanent rod. The other is a no-drill option, great if you rent.
What You’ll Need
Gather these before you start. Having everything ready makes the whole project faster.
- A curtain rod and bracket set, sized for your window
- A stud finder (for heavy curtains, this step matters)
- A cordless drill with a small bit
- Wall anchors (for hollow walls — drywall without a stud behind it)
- A tape measure
- A pencil
- A level
- Your curtains
1. Decide How High to Hang the Rod
This single choice makes the biggest difference in how a room looks. Hang the rod too close to the window, and the room feels shorter. Hang it higher, and the ceiling feels taller.
There is no single rule. Most guides say 4 to 6 inches above the window frame. Some go as high as 10 inches. Want a bigger effect? Go higher still. Halfway between the window and the ceiling works well in most rooms. It is a style choice, not a code.
2. Decide How Wide to Mount the Brackets
Extend the rod past the window frame on each side. Guides range from 3 to 6 inches for a neat look, up to 8 to 15 inches to keep the glass clear when the curtains are open. The wider you go, the more light you let in. It also makes the window look bigger than it is.
Worked example: Your window is 36 inches wide. Add 8 inches per side and the rod is 52 inches long (36 + 8 + 8). Add 15 per side and it is 66 inches. For a full look, buy panels that add up to about twice the rod width.
3. Mark and Check Your Bracket Spots
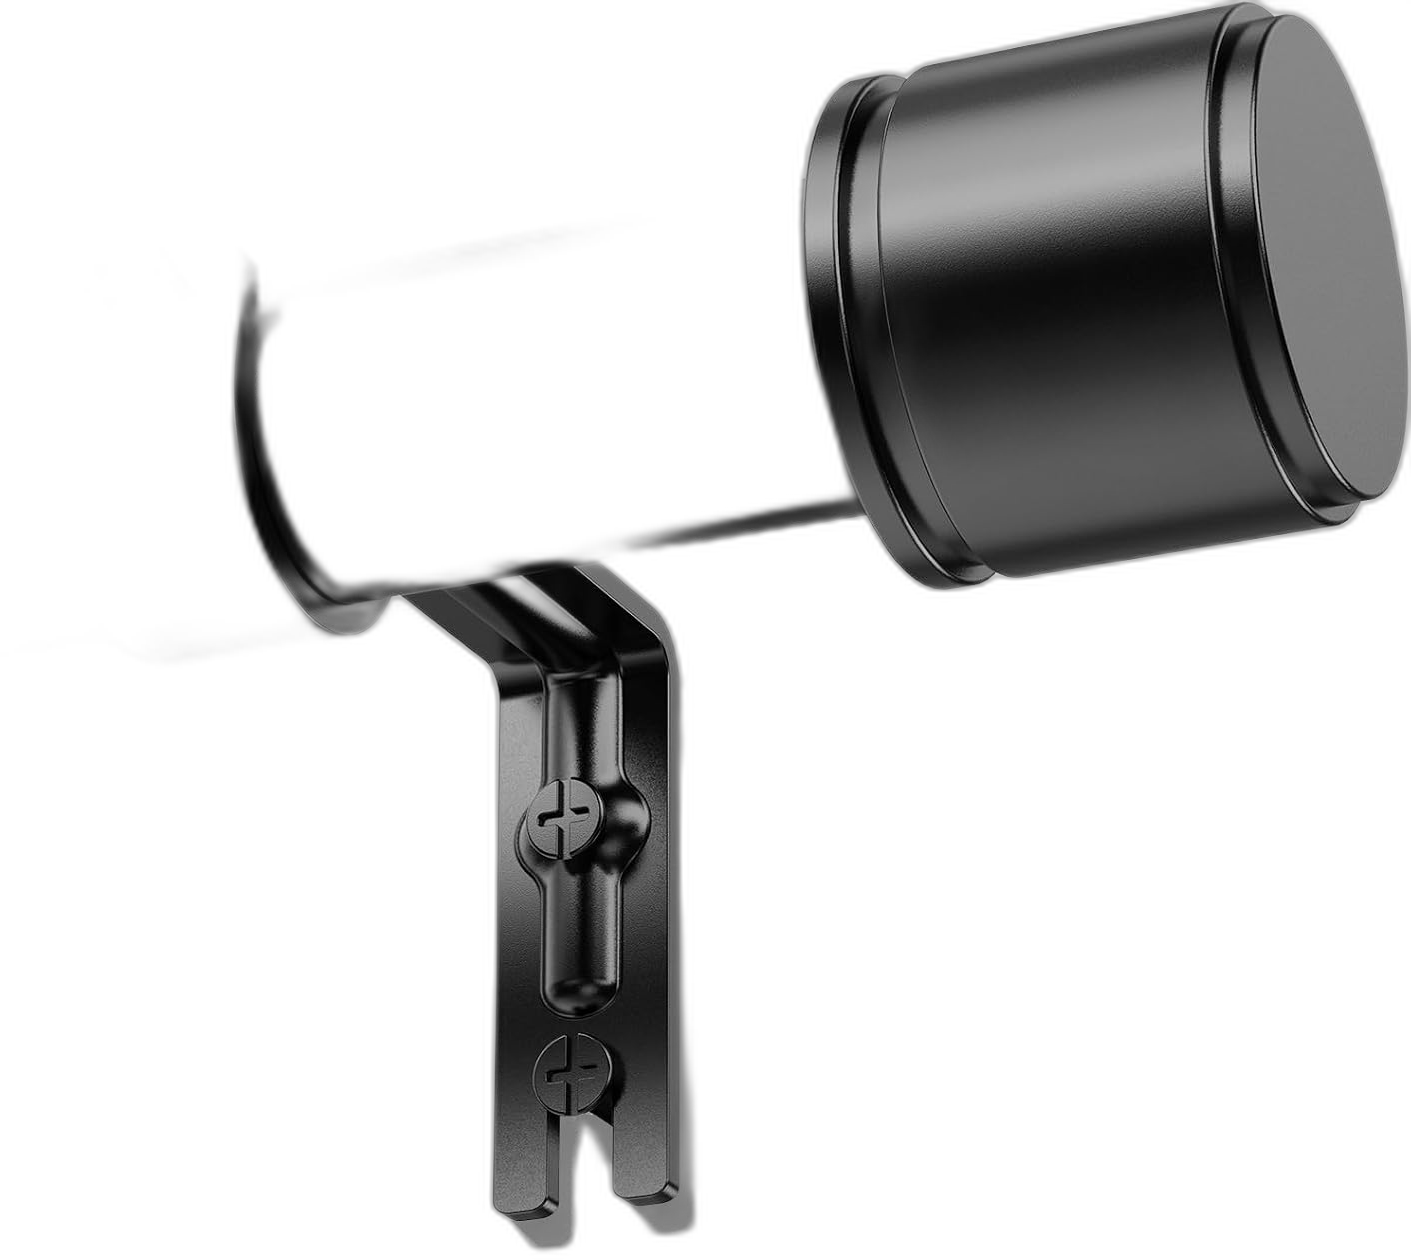
Hold a bracket where you want it. Mark the screw holes lightly with a pencil. Do the same on the other side.
Now check your marks with a level. Place the level between the two marks and adjust until it reads perfectly flat. A crooked rod is the most common mistake in this whole project, and it is the easiest one to avoid — just double check before you drill.
Two tips: Houses settle, so a perfect bubble level can still look off next to a tilted window frame. Make sure the rod looks parallel to the frame, too. And cut a cardboard template with the screw holes marked on it. Flip it to the other side so both brackets match.
4. Find a Stud (For Heavy Curtains)
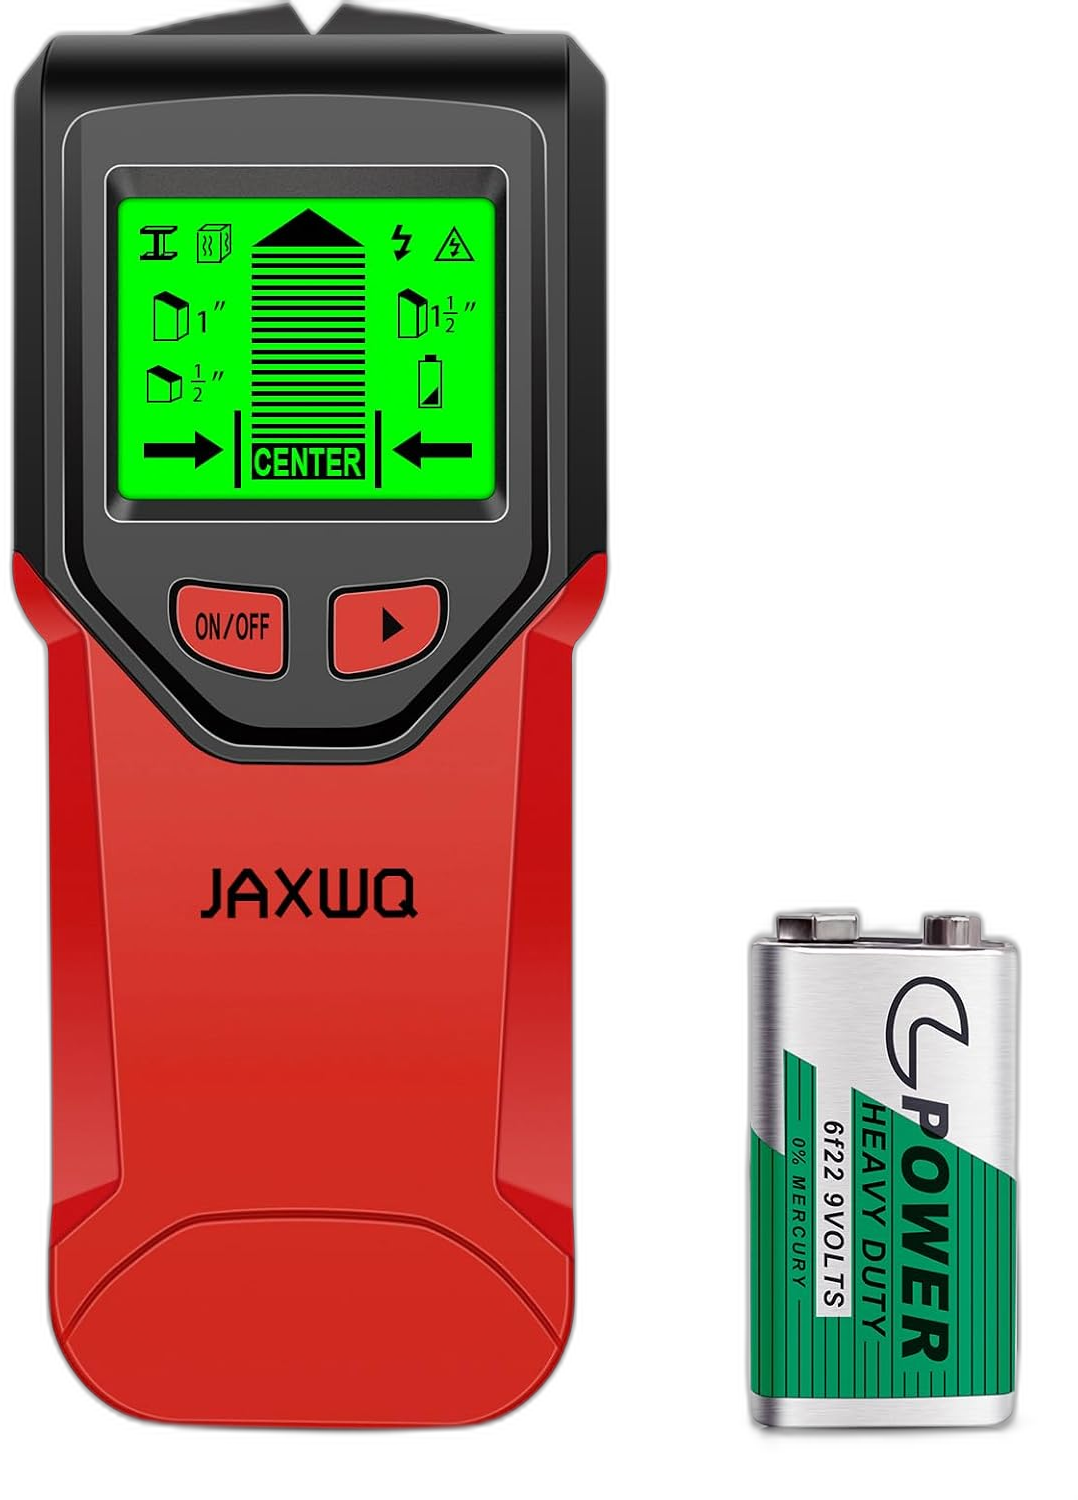
If you are hanging thick or heavy curtains, drilling into a wall stud gives you the strongest hold. Run a stud finder along the wall near your marks and adjust your bracket position slightly if a stud lines up close by.
Studs in most U.S. homes sit 16 inches apart, center to center. Some sit 24 inches apart. Run the finder over the spot more than once, because stud finders can miss. You can double check with a tap test (a stud sounds solid) or a thin finishing nail (it stops after about half an inch at a stud). (Home Depot)
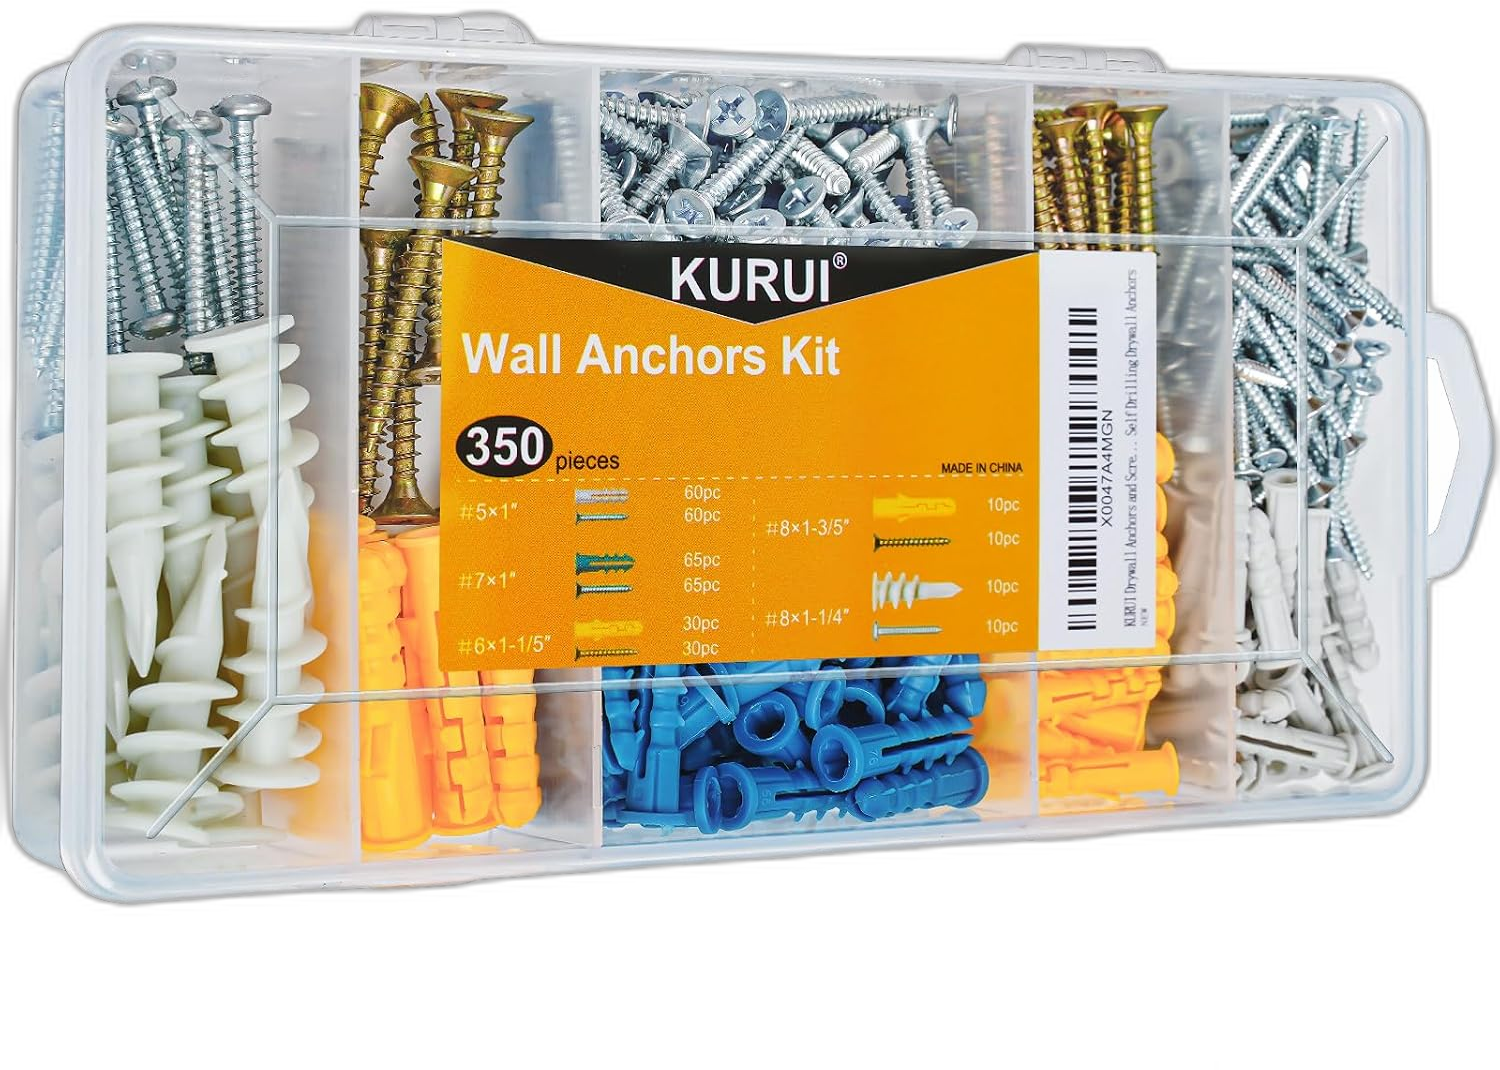
No stud nearby? That is fine. You do not need a stud for most curtains. A wall anchor holds plenty of weight. Pick the right type:
| Anchor type | Typical hold | Good for |
|---|---|---|
| Plastic expansion | 5 to 25 lbs | Light items. Not a good pick for curtain rods. |
| Winged plastic | 35 to 65 lbs | Most curtain rods |
| Self-drilling | 50 to 75 lbs | Most curtain rods |
| Toggle bolt | 140 to 265 lbs | Very heavy drapes or long spans |
Numbers come from Lowe’s anchor guide, which lists curtain rods as a common use for winged and self-drilling anchors. Those are maximums. Use a rating well above your curtain weight. Two anchors do not always add up, so pick one anchor rated for the whole load. Self-drilling anchors can also spin in old, soft drywall. If that happens, switch to a winged or toggle anchor.
5. Drill and Install the Brackets
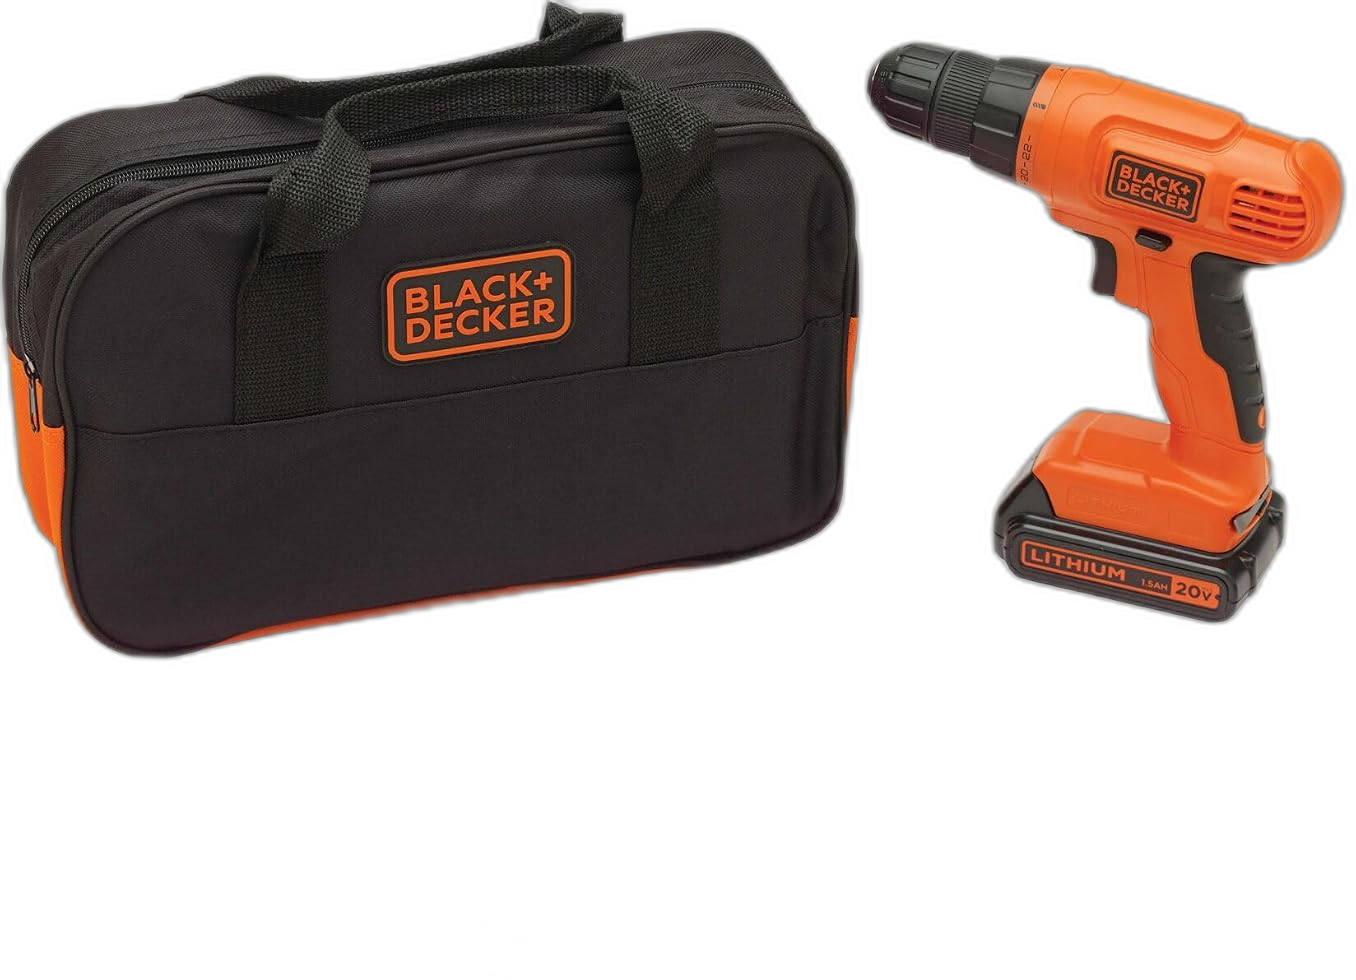
Drill a small pilot hole at each mark. Even in wood trim, a pilot hole helps stop the wood from splitting. If you hit a stud, you can usually screw straight in. If not, tap in a wall anchor first, then drive the screw into the anchor.
Attach the bracket to the wall and tighten until it is snug. Give it a light tug to check it is secure before moving on.
6. Slide On Your Curtains
Do this before the rod goes up — it is much easier than threading curtains onto a rod that is already mounted.
- Grommet curtains: thread the rod straight through the metal rings at the top
- Rod pocket curtains: slide the rod through the sewn-in pocket
- Back tab curtains: slide the rod through the fabric loops on the back
- Curtain rings: clip the rings onto the curtain first, then slide the rod through the rings

7. Set the Rod in Place
Lift the rod — curtains already on it — and rest it onto the brackets. Most brackets have a small screw or clip that locks the rod in place. Secure it now so the rod cannot slide off.
8. Final Adjustments
Step back and check that the curtains hang evenly on both sides. Give the fabric a light tug or a steam to settle any wrinkles from packaging.
The No-Drill Option (Great for Renters)
If you rent, or just do not want to put a hole in the wall, a tension rod solves the whole problem. It wedges inside the window frame using spring pressure. No drilling. No wall anchors. No marks to patch when you move out.
The tradeoff: tension rods work best with light curtains. Most have no official weight rating. They also fit only inside the window frame, not several inches past it like a mounted rod. For sheer curtains, cafe curtains, or a doorway, this is the easiest option on the whole list.
Have heavier curtains and real wood window trim? A bracket that taps into the trim holds more. Wirecutter’s tests found Kwik-Hang brackets hold their stated 20 pounds. They leave tiny holes in the trim, so they are not totally damage-free. Stick-on hooks are a last resort for light panels. Basic ones hold as little as 5 pounds, so check the number on the package.
This is exactly the kind of project we cover in our guide to decorating a rental without a single hole in the wall — the tension rod trick shows up there too, alongside 19 other no-damage ideas.
Common Mistakes to Avoid
Which Curtain Style Is Easiest to Install?
If you are also choosing new curtains, this affects how easy the hanging process is:
- Easiest: grommet curtains — they thread on fast and glide open smoothly
- Classic look, a bit more effort: rod pocket curtains — simple to thread, but bunch up more when pulled open
- Most tailored look: back tab curtains — look great, take slightly longer to thread one tab at a time
How Much Does This Project Cost?
This is one of the cheapest upgrades in the whole house. Here is what to expect.
A drill is worth owning, not just borrowing. If you do not have one, a basic cordless drill pays for itself fast.
Tools You Probably Already Own
You may already own some of this. Check your toolbox first:
- A pencil and tape measure — almost everyone already has these
- A level — if not, a free phone app works fine for this project
- A drill — the one tool worth borrowing from a neighbor or friend if you do not own one and are only doing one or two windows
What you will likely still need to buy: the rod and bracket set itself, and wall anchors sized for your wall.
Frequently Asked Questions
How high should I hang a curtain rod?
Most guides say 4 to 6 inches above the window frame, and some say up to 10. There is no strict rule. For a room with low ceilings, hanging the rod higher — closer to the ceiling — makes the whole room feel taller.
Do I need to drill into a stud?
Usually not. A stud gives the strongest hold. But a winged plastic anchor (about 35 to 65 pounds) or a self-drilling anchor (about 50 to 75 pounds) holds most curtains and rods just fine. Use a stud or a toggle bolt for very heavy drapes or long spans.
Can I hang a curtain rod without drilling?
Yes. A tension rod wedges inside the window frame with spring pressure and needs no tools at all. It works best for lighter curtains and is the standard choice for renters. For heavier curtains and wood trim, tap-in brackets hold more.
How wide should the rod be compared to the window?
Most guides say 3 to 6 inches past the frame on each side for a neat look, and up to 8 to 15 inches to keep the glass clear when curtains are open. Buy panels that add up to about twice the rod width for a full look.
Do I need a center support bracket?
For long rods, yes. Thinner rods sag sooner. A 1/2-inch rod needs one by about 70 inches. A 3/4-inch rod by about 80. A 1-inch rod by about 90. Always add one past 96 inches.
What weight can a wall anchor hold?
It depends on the type. Plastic expansion anchors hold about 5 to 25 pounds. Winged plastic hold about 35 to 65. Self-drilling hold about 50 to 75. Toggle bolts hold about 140 to 265. Pick one rated well above your curtain weight.
Is it safe to drill where I hang a curtain rod?
Usually. Rods go up high, above most outlet wiring. But wires can run up to switches. Use a stud finder with wire detection and avoid drilling right above or below outlets and switches.
Sources and Further Reading

Olivia Bennett is the Lead Content Editor at The Dailey House. She specializes in interior styling, bedroom aesthetics, and creating spaces that feel intentional without feeling out of reach. With over a decade of experience covering home interiors, Olivia believes every room should tell you something about the person who lives in it.