Learn how to build an effective study space without a desk using everyday items and creative solutions. This guide covers 10+ budget-friendly alternatives from windowsills to floor setups that boost focus and productivity. Perfect for small rooms, dorms, or anyone seeking a change of scenery while maintaining organization and comfort.
Key Takeaways
- Think vertical: Use walls, windowsills, and hanging organizers to create elevated work surfaces that free up floor space.
- Portable power: Lap desks, folding tables, and rolling carts make studying possible anywhere in your home.
- Ergonomics matter: Choose supportive seating and proper heights to avoid back pain and stay comfortable during long study sessions.
- Light is key: Position your study space near natural light or add a quality lamp to reduce eye strain and improve mood.
- Stay organized: Use bins, trays, and wall pockets to keep supplies tidy without needing built-in desk storage.
- Small changes, big impact: Simple additions like a cushion, plant, or inspiring poster can transform any corner into a focused study zone.
- Test before committing: Try your setup for 30 minutes first to ensure it works for your learning style and physical needs.
How to Create a Study Space Without a Desk: Creative Ideas for Every Student
You don’t need a traditional desk to build a fantastic study space. Many students are discovering that creative alternatives work better for their lifestyle, budget, and available room. This guide will show you exactly how to create a study space without a desk using simple, affordable solutions you can implement today.
Whether you live in a tiny dorm, share a crowded apartment, or just want more flexibility, these ideas will help you stay focused and organized. Let’s explore the best ways to study smarter, not harder.
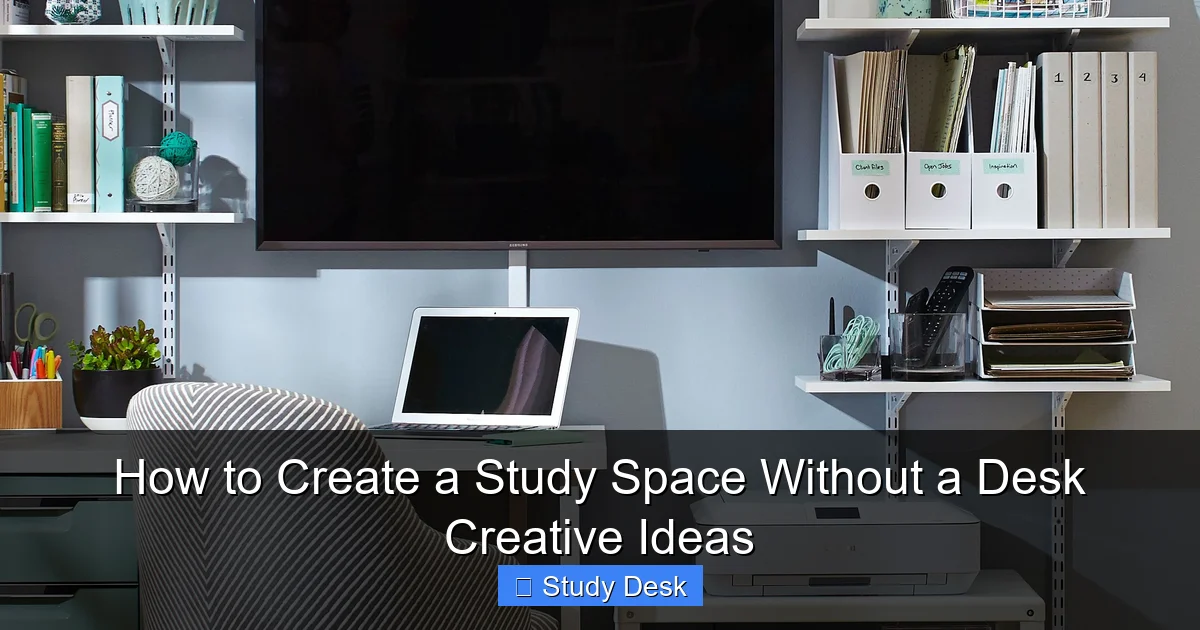
Why Go Desk-Free? The Benefits of Alternative Study Spaces
Traditional desks can be expensive, bulky, and limiting. A desk-free study space offers freedom and adaptability. You can move with the sun for better lighting, switch locations to match your mood, and save money for other important things like textbooks or a laptop.
Visual guide about How to Create a Study Space Without a Desk Creative Ideas
Image source: bhg.com
Students who create a study space without a desk often report better concentration. Changing scenery can refresh your mind. Working from different spots also prevents the boredom that comes with staring at the same four walls every day.
Another huge advantage is space savings. In a small bedroom or shared living area, every square foot counts. A flexible setup takes up less room and can be packed away when not in use. This makes it ideal for renters and anyone who moves frequently.
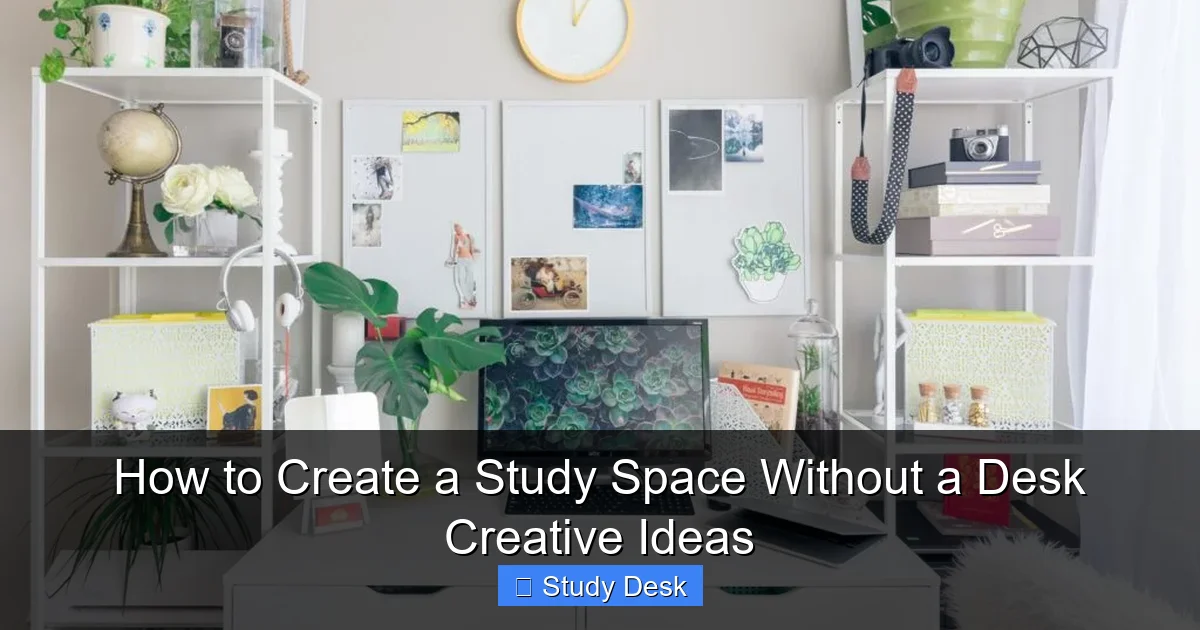
Assessing Your Space and Needs
Before you start building, take a good look at what you have to work with. This step ensures your new study space fits your life perfectly.
Visual guide about How to Create a Study Space Without a Desk Creative Ideas
Image source: chanty.com
Evaluating Available Surfaces
Walk through your home and identify every flat surface. Dining tables, kitchen counters, coffee tables, and even sturdy boxes can work. Measure the height and depth. You need enough room for your laptop, books, and writing space. A minimum of 24 inches deep is ideal for most students.
Check the stability of each surface. Wobbly tables are frustrating and dangerous. Test weight capacity by placing your heaviest textbook on the surface. Listen for creaks or movement. If you plan to use a windowsill, make sure it’s wide enough (at least 12 inches) and structurally sound.
Considering Your Study Habits
Think about how you learn best. Do you need room for multiple textbooks open at once? A larger surface like a dining table might suit you. Do you prefer typing on a laptop? A lap desk could be perfect. Are you a visual learner who needs wall space for notes? Consider a wall-mounted setup.
Your schedule matters too. If you study early morning, position yourself near east-facing windows for natural light. Night owls might need a dedicated lamp. If you get distracted easily, choose a quieter corner away from high-traffic areas.
Identifying Storage Solutions
Without a desk, you lose built-in drawers. Plan where your supplies will live. Wall pockets, over-door organizers, and rolling carts can hold everything you need. Keep frequently used items within arm’s reach. Store less common supplies in bins under your bed or on a shelf.
Think vertical. Walls offer huge storage potential. Install a pegboard for hanging supplies or use adhesive hooks for lightweight baskets. A small bookshelf next to your study spot creates instant storage without taking up much floor space.
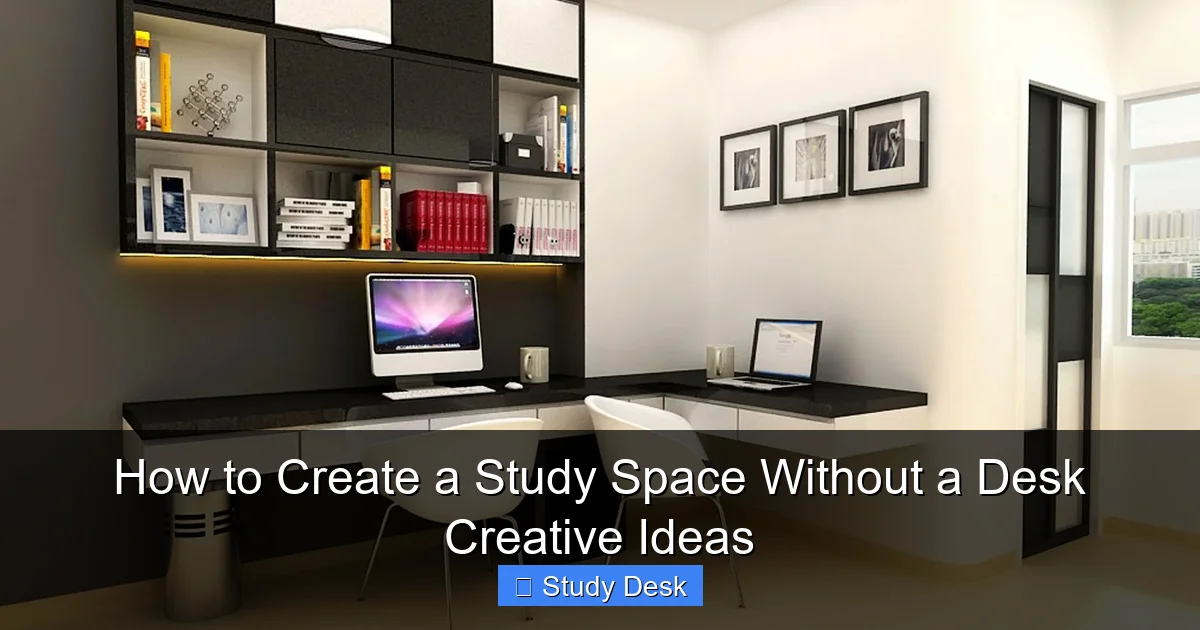
Creative Study Space Ideas Without a Desk
Now for the fun part. Here are the most popular and effective ways to create a study space without a desk.
Visual guide about How to Create a Study Space Without a Desk Creative Ideas
Image source: foyr.com
Using a Dining Table
The dining table is the classic desk alternative. It’s already at the perfect height for sitting in a chair. Most dining tables are between 28-30 inches high, which is ideal for standard office chairs or dining chairs.
To make this work, claim one end of the table as your dedicated study zone. Use a tray to corral your essentials. This way, you can clear everything away for meals. Add a table lamp for focused lighting. If the table is in a busy area, use a room divider or screen to create a visual barrier.
For extra comfort, place a cushion on your chair. A footrest made from a sturdy box can improve your posture. Keep a small caddy nearby for pens, sticky notes, and other small items you need during study sessions.
Transforming a Windowsill
A windowsill can become a charming standing desk. This is perfect for small spaces where every inch counts. Measure your windowsill width. If it’s at least 12 inches deep, you’re in luck. Add a non-slip mat to prevent items from sliding.
For seated work, place a stack of sturdy books or a small platform on the windowsill to raise your laptop to the right height. Your elbows should be at a 90-degree angle. Use the natural light to your advantage. It reduces eye strain and boosts your mood.
Storage is simple with windowsill setups. Mount small shelves on either side of the window. Hang a pocket organizer on the wall above. This keeps everything you need close by without cluttering the windowsill itself.
Setting Up on the Floor
Floor studying is popular and surprisingly comfortable with the right setup. You’ll need a firm backrest. A wall, couch, or stack of cushions works well. Avoid slouching on a bed, which can make you sleepy.
Use a lap desk or a firm cushion as your writing surface. Look for lap desks with a slanted top to prevent neck strain. Place your laptop on a cooling pad if you’re concerned about overheating. Keep a small basket beside you for books and supplies.
This option is great for active learners. You can sit cross-legged, kneel, or even lie on your stomach. Change positions every 20 minutes to stay comfortable. Add a floor lamp for proper lighting. A cozy rug underneath makes the space feel intentional and comfortable.
Utilizing a Lap Desk
A lap desk is the ultimate portable solution. You can study on your couch, bed, floor, or even outside. Look for one with a smooth writing surface and a cushion underneath. Weight matters. Choose a lap desk under three pounds for maximum comfort.
For laptop users, find a model with ventilation holes. This prevents your computer from overheating. Some lap desks even have built-in wrist rests and storage compartments for pens. These small features make a big difference during long study sessions.
Pair your lap desk with supportive seating. Avoid studying from your bed for long periods. Instead, sit on the couch with your back against the armrest. Or use a floor cushion with back support. This keeps your spine aligned and prevents fatigue.
Creating a Wall-Mounted Station
Wall-mounted solutions are perfect for tiny spaces. Install a folding shelf or Murphy-style desk that flips up when needed and down when not in use. These can be found for under $50 at most home improvement stores.
You can also create a custom setup with basic wood planks and brackets. Mount the planks at elbow height when standing. This creates a standing desk that takes up zero floor space. Add adhesive hooks below the shelf to hang a small basket for supplies.
For a no-drill option, use a tall bookshelf placed against the wall. Place your laptop on a stack of books at the right height. Use the shelves for storage. This creates a vertical study space without damaging walls.
Using a Folding Table
Folding tables offer instant workspace that disappears when you’re done. Card tables, TV trays, and small folding banquet tables all work well. Look for one that’s at least 24 by 36 inches. This gives you room for a laptop and notebook.
Height is crucial. Most folding tables are 28-30 inches tall, which is perfect. Pair it with a comfortable chair from your dining set. Add a small rolling cart next to it for storage. This gives you the functionality of a desk without the permanence.
These tables are lightweight. You can move them from room to room to follow the best light or quietest spot. During exams, place it in a private corner. On nice days, move it to a balcony or patio for fresh air while you study.
Converting a Closet
Got a spare closet? Turn it into a compact study nook. Remove the door if it blocks light. Install a narrow shelf at desk height across the width of the closet. Use the rod area for hanging storage bins or a small pegboard.
Good lighting is essential here. Add battery-operated LED puck lights or a slim profile LED strip. These don’t generate heat and are safe for enclosed spaces. A small clip-on desk lamp can attach to your shelf.
Seating can be a floor cushion or a small stool that slides under the shelf when not in use. This creates a private, distraction-free zone perfect for intense focus sessions. The closet walls naturally block out household noise and visual distractions.
Outdoor Study Spaces
Take your studies outside when weather permits. A patio table, park bench, or even a blanket in the yard can become your classroom. Natural light improves concentration and memory retention.
For a permanent outdoor setup, use a weatherproof folding table and chair. Store them in a shed or garage when not in use. Add a small umbrella for shade on sunny days. Bring out a portable storage bin for your supplies each time you study.
Even without a yard, you can use a balcony or fire escape (where safe and legal). A small bistro table and chair create a perfect outdoor study space. The change of scenery can make reviewing flashcards or reading textbooks much more enjoyable.
Essential Elements for an Effective Desk-Free Study Space
No matter which setup you choose, these elements will make or break your study success.
Lighting Matters
Good lighting prevents eye strain and headaches. Natural light is best. Position your study space near a window but avoid direct glare on your screen. If you study at night, invest in a quality desk lamp. Look for LED bulbs with adjustable brightness and color temperature.
Task lighting is key. A lamp that shines directly on your work surface reduces shadows. Avoid overhead lights alone, which create harsh shadows. Combine overhead lighting with a focused task lamp for the perfect balance.
Consider a lamp with a flexible neck. This lets you adjust the light exactly where you need it. Some lamps even have USB ports for charging your phone or tablet. These small conveniences add up during long study marathons.
Ergonomics and Comfort
Your body will thank you for thinking about ergonomics. Your screen should be at eye level. Use books or a stand to raise your laptop if needed. Your chair should support your lower back. Add a cushion if your chair is hard or lacks support.
Keep your feet flat on the floor. If your chair is too high, use a footrest. This can be a sturdy box, stack of books, or a small ottoman. Your knees should be level with your hips. This alignment prevents back pain during long study sessions.
Take breaks every 30 minutes. Stand up, stretch, or walk around for two minutes. This improves circulation and prevents stiffness. Set a timer on your phone to remind yourself. Your future self will appreciate the effort you put in now.
Organization and Storage
A cluttered space creates a cluttered mind. Keep only what you need on your work surface. Everything else belongs in nearby storage. Use a small tray to group similar items together. This creates visual order even in a small space.
Try the “one in, one out” rule. When you add a new item to your study space, remove an old one. This prevents accumulation over time. Label your storage containers so you can find things quickly. Clear bins let you see contents at a glance.
Go vertical with storage. Wall-mounted shelves, pegboards, and hanging organizers free up your work surface. Use adhesive hooks for lightweight items like headphones or a small calendar. A rolling cart next to your study area provides mobile storage you can tuck away.
Minimizing Distractions
Your study space should be a focus zone. If you’re in a common area, use a visual signal. A simple sign that says “Studying” tells others to give you space. Noise-canceling headphones block household sounds. Even regular headphones with music can help.
Put your phone in another room or use apps that block social media during study hours. Turn off unnecessary notifications on your computer. A clean, minimal setup reduces visual distractions. Keep decorations to a minimum—just one or two inspiring items.
Communicate with your household. Let them know your study schedule and when you need quiet time. Most people are happy to help if they understand your goals. Offer to return the favor when they need focus time.
Step-by-Step Setup Guide
Ready to build your desk-free study space? Follow these steps for a smooth setup process.
Step 1: Choose Your Location
Pick the spot that gets the best natural light and has the least foot traffic. Measure the area to know your dimensions. Consider proximity to power outlets for your laptop and lamp. Avoid areas near the TV or kitchen where smells and noise can distract you.
Test the location at the time you normally study. Is it quiet? Is the light good? Sit there for five minutes and notice any potential distractions. If you can, choose a spot with a door you can close or a corner that feels private.
Step 2: Gather Your Materials
Make a list of what you need. For a basic setup, you’ll need a surface, seating, lighting, and storage. Shop your home first. You might already have everything you need. Check for unused chairs, spare cushions, or old trays that could work.
For items you need to buy, set a budget. Many desk-free solutions cost under $30. Lap desks, folding trays, and storage bins are inexpensive. Prioritize spending on comfort items like a good cushion or quality lamp. These directly impact your study effectiveness.
Step 3: Set Up Your Surface
Place your chosen surface in the location. Test its stability by pressing down firmly. Adjust as needed. If using a lap desk, make sure the cushion is firm and the surface is level. For wall-mounted options, use a level to ensure your shelf is straight.
Position your laptop or notebook. Your screen should be an arm’s length away. Your elbows should rest at 90 degrees. Use books or boxes to raise your laptop if it’s too low. Never hunch over your device for long periods.
Step 4: Organize Your Supplies
Place your most-used items within easy reach. Pens, notebooks, and your water bottle belong on the surface or in a caddy right next to it. Less frequently used items go in nearby storage. Use drawer dividers or small containers to separate different types of supplies.
Create a “study kit” in a small box or basket. Fill it with everything you need for a session. This way, you can grab it and go to your study spot without forgetting anything. It also makes cleanup faster when you’re done.
Step 5: Add Personal Touches
Make the space feel like yours with one or two personal items. A small plant adds life and improves air quality. A motivational quote in a frame can keep you inspired. Choose items that spark joy without creating clutter.
Consider a small whiteboard for to-do lists or formulas. This gives you a place to write without wasting paper. A bulletin board can hold important reminders. Keep it small—just 12 by 12 inches—so it doesn’t overwhelm your space.
Step 6: Test and Adjust
Try your setup for a 30-minute study session. Pay attention to your comfort level. Are you straining your neck? Is the lighting causing glare? Do you have to reach for things you need? Take notes on what works and what doesn’t.
Make small adjustments after your test. Raise or lower your screen. Move your lamp. Switch to a different chair. It might take a few tries to get everything perfect. Don’t be afraid to experiment until you find your ideal configuration.
Troubleshooting Common Challenges
Every setup has its issues. Here’s how to solve the most common problems.
Dealing with Discomfort
Back pain is the top complaint. If your back hurts, your seating or surface height is wrong. Try a different chair. Add a lumbar cushion. Make sure your feet are flat on the floor. If you’re using a lap desk, limit sessions to 30 minutes at a time before moving to a more ergonomic setup.
Neck strain often comes from looking down at a laptop. Raise your screen to eye level using books or a stand. Your top screen line should be at or slightly below eye level. Take a break every 20 minutes to look away from your screen and stretch your neck gently.
Wrist pain happens when your keyboard is too high or too low. Your wrists should be straight, not bent up or down. Use a wrist rest if needed, but don’t rely on it. Keep your keyboard at elbow height. Float your arms slightly above the keyboard when typing.
Managing Limited Space
If your area is tiny, go vertical. Use wall space for everything possible. Mount a shelf for your laptop, another for supplies. Hang a fold-down desk if you can install it. Use the back of doors for pocket organizers or over-door hooks.
Choose multi-functional items. A storage ottoman can be a seat and hold supplies. A lap desk with built-in storage compartments reduces clutter. Look for furniture that serves two purposes. Every item should earn its place in your small space.
Keep only what you use daily. Store seasonal items elsewhere. Be ruthless about decluttering. If you haven’t used something in a month, donate it or store it out of the way. A minimalist approach works best in small spaces.
Handling Distractions
Noise is a major distraction. Use earplugs or noise-canceling headphones. Play white noise or instrumental music to mask household sounds. Close doors and windows if possible. If you’re in a common area, face away from the main traffic flow.
Visual distractions break your focus too. Position your back to busy areas. Use a room divider or tall plant as a visual barrier. Keep your work surface clean. A cluttered area is visually overwhelming and makes it hard to concentrate on your work.
Digital distractions are everywhere. Use website blockers during study sessions. Put your phone in another room or turn it off completely. Close all browser tabs you don’t need. Consider using a simple text editor instead of a full-featured word processor to avoid formatting distractions.
Staying Organized
Without desk drawers, supplies can scatter. Use a central storage location. A small rolling cart, decorative box, or bookshelf works. Assign a home to every item. Pens go in this cup. Notebooks go on that shelf. Return items to their homes after each study session.
Create a daily reset routine. Spend five minutes at the end of each study session putting everything away. Wipe down your surface. File papers. This takes little time but prevents chaos from building up. A clean space makes it easier to start focused the next day.
Use a planner or digital calendar to keep track of assignments. This reduces mental clutter. Write down due dates, exam schedules, and study goals. Check it each morning to plan your day. A clear plan means less stress and more effective studying.
Maintaining Your Desk-Free Study Space
A great setup needs regular care to stay effective. These habits will keep your space functional and inspiring.
Daily Cleanup Routine
End each study session with a quick reset. Put away all supplies. Wipe down your surface with a damp cloth. Throw away any trash. This takes less than five minutes but makes a huge difference. You’ll start fresh next time instead of fighting yesterday’s mess.
Check your lighting each day. Replace dead batteries in lamps. Adjust blinds or curtains to optimize natural light. Make sure your power cords are safely tucked away to prevent tripping. A safe space is a functional space.
Weekly Organization
Once a week, do a deeper clean. Dust your shelves and surfaces. Organize any papers that accumulated. Check your supplies and make a shopping list if you’re running low on essentials. Rotate items that you haven’t used to storage.
Evaluate your setup weekly. Is it still comfortable? Are there new distractions? Make small tweaks as needed. Your needs might change as the semester progresses. A flexible approach lets you adapt your space to match your current workload.
Staying Motivated
Change your scenery occasionally to keep things fresh. Move your folding table to a different room. Study in a coffee shop for a change. Even moving your lap desk from the couch to the floor can refresh your mindset. Variety prevents burnout.
Track your progress. Keep a simple log of study hours and topics covered. Seeing your accomplishments builds momentum. Celebrate small wins. Finished a tough chapter? Take a short break. Reward yourself with a walk or a healthy snack.
Remember why you’re studying. Keep your goals visible. A small vision board or sticky note with your target grade can motivate you on tough days. Your study space should inspire you to do your best work.
Final Thoughts on Creating a Study Space Without a Desk
You now have everything you need to create a study space without a desk that works perfectly for your life. The key is to start simple. Choose one idea from this guide and try it for a week. Pay attention to what feels right and what needs adjustment.
Remember that the best study space is one you’ll actually use. It should feel comfortable, support your learning style, and fit your budget. Don’t feel pressured to buy expensive equipment. Most solutions cost less than $50 and use items you already own.
Be patient with yourself as you adjust. It might take a few tries to find your perfect setup. Keep experimenting until you find the combination that makes you excited to study. Your focus, grades, and sanity will thank you for the effort you put into creating this important space.
Now go build that amazing desk-free study zone and watch your productivity soar.